Description
A collection of various projects that involve maker’s equipment, like my 3D Printer and other equipment I have worked on.
Photos
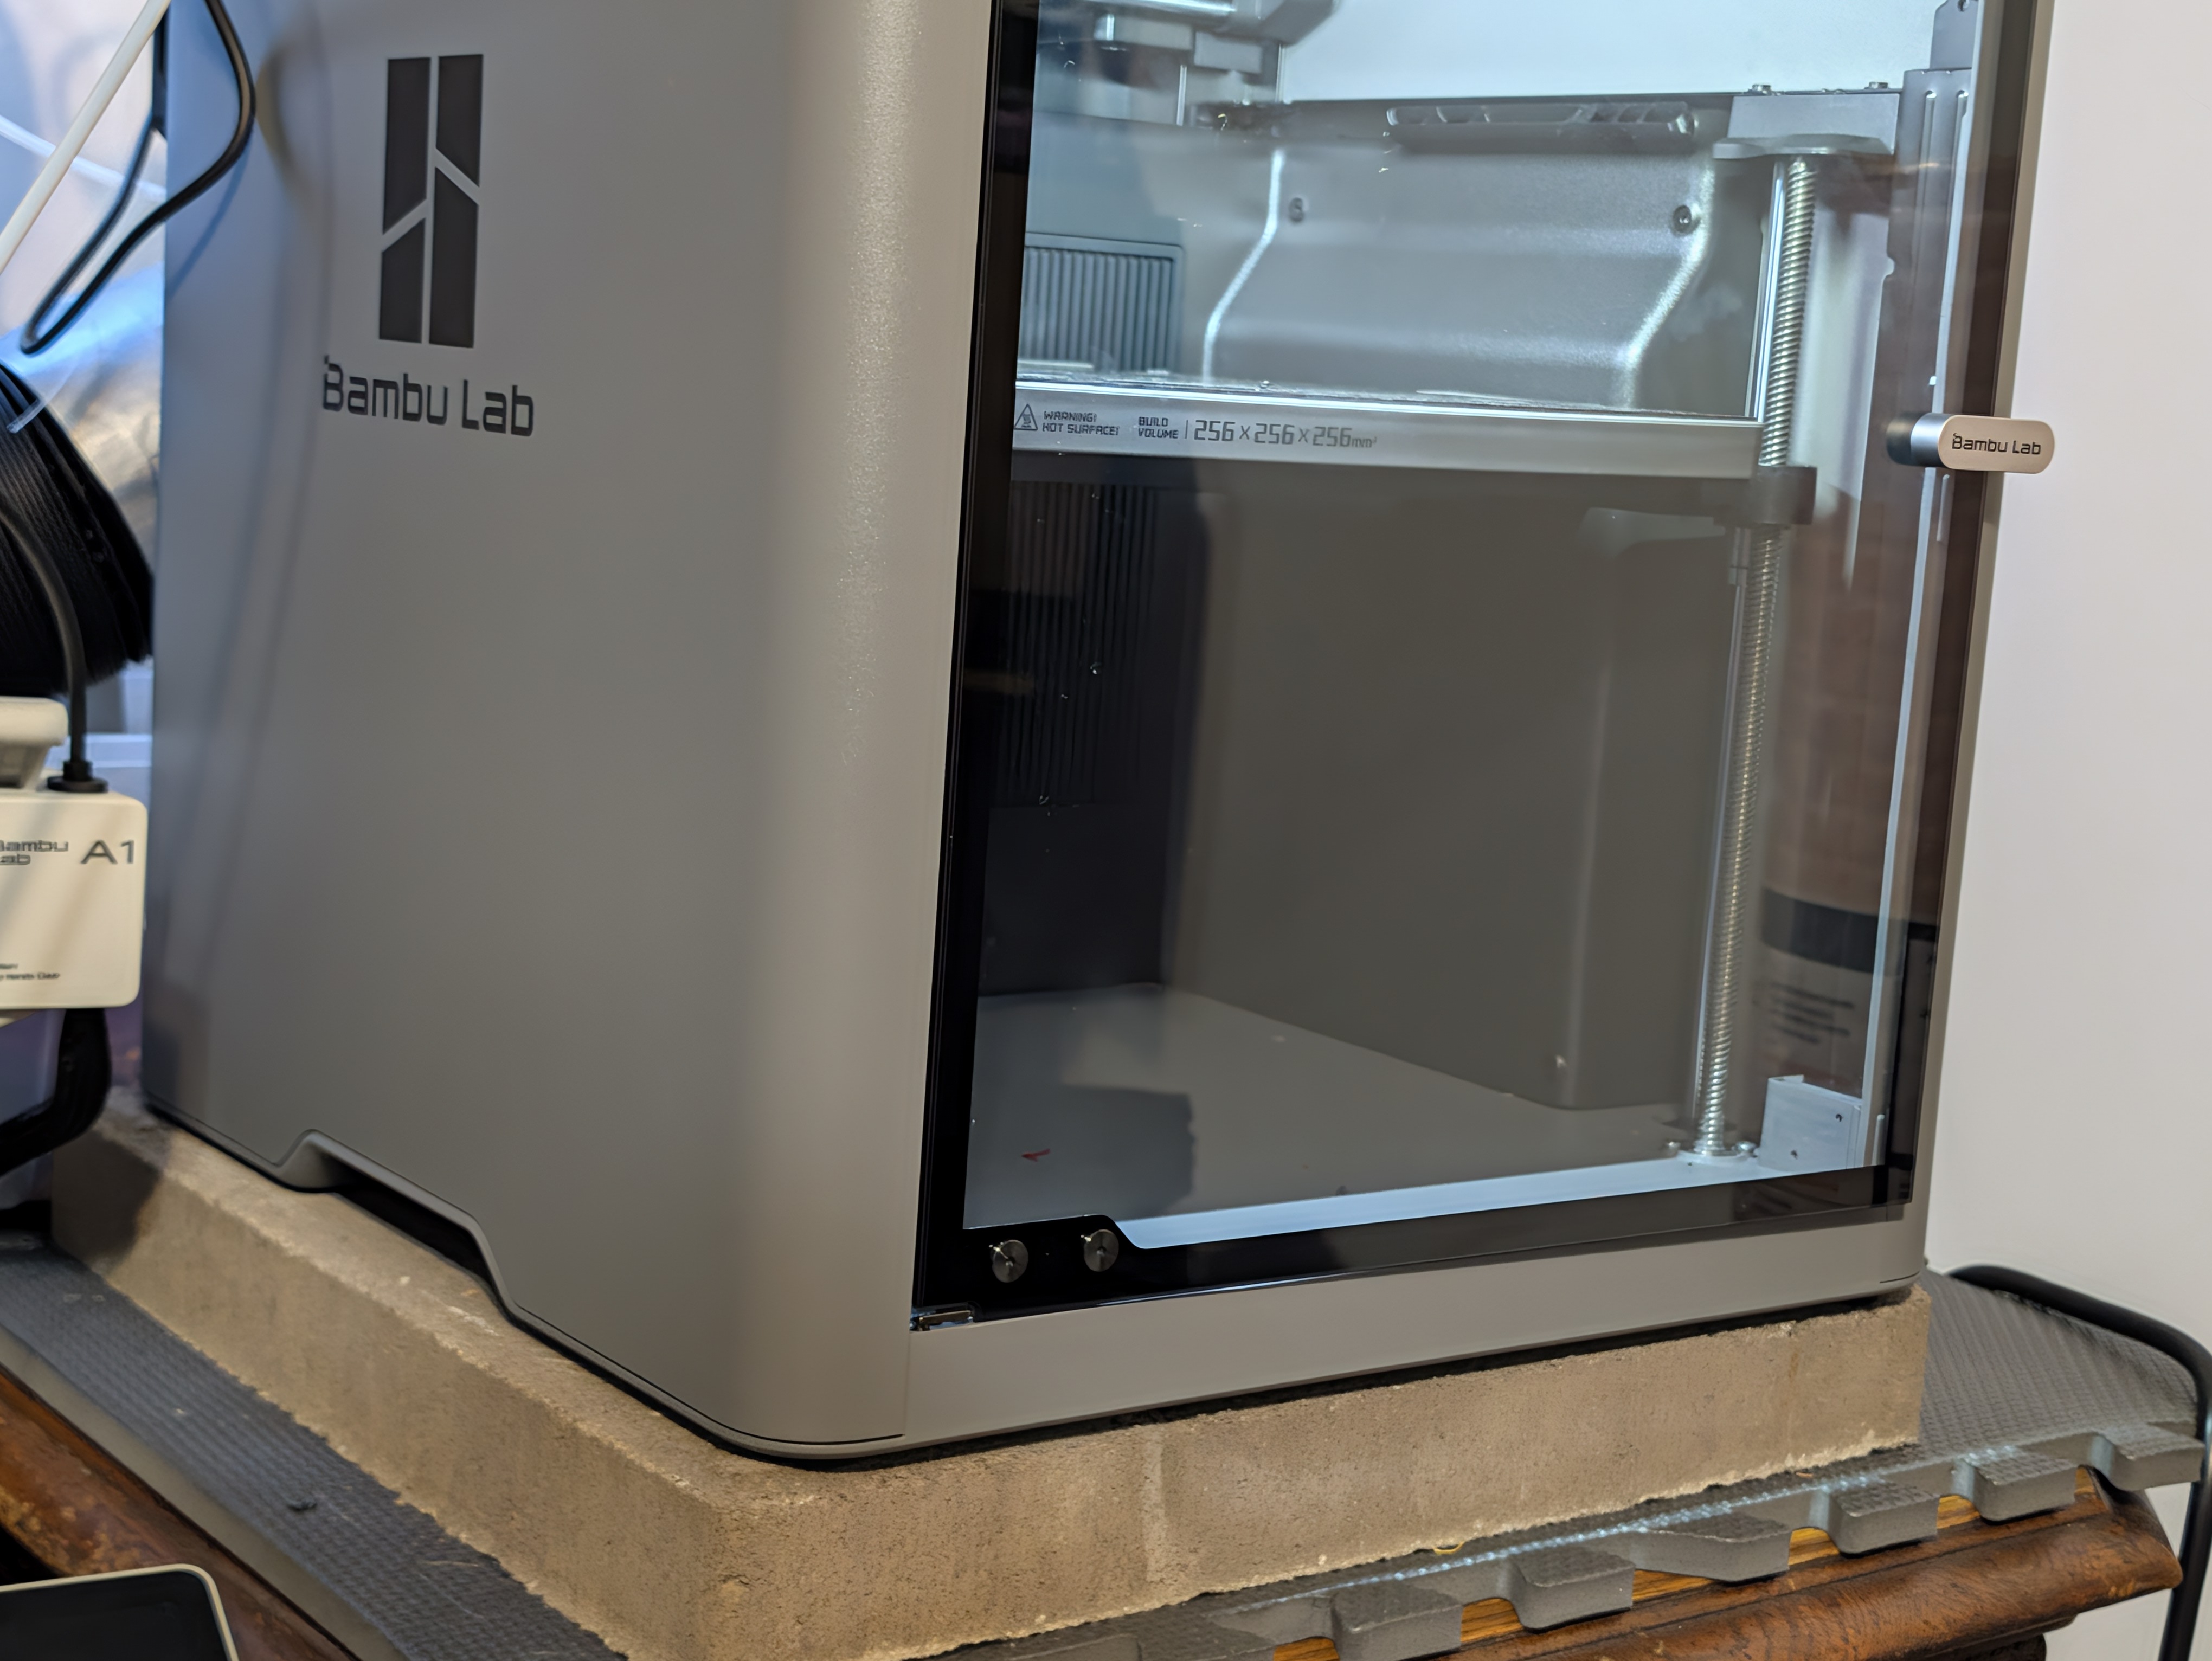
This past summer, I ran into a few projects I could not do because I had a 3D printer without an enclosure. I ended up caving and bought a P2S. One of the things I immediately noticed was that on the old hollow wooden table I had, it would shake (vibrations) and sway like crazy. This would reverberate or resonate and would be noticeably noisy to my family. I came across a solution online from CNC Kitchen where he put his printer on a concrete slab from the hardware store and put the slab on top of a flexible material and put that on the desk. I tried it and it worked spectacularly. It eliminated the noise that would travel rooms and floors. It made the machine sound much quieter, and the print quality improved somewhat. Since then, I have added active exhaust to the outdoors and a VOC sensor, and particle sensor connected to HomeAssistant to be completely sure that I am not exposing my family to something irritating or dangerous. I also added the TPU Feed Module by Bambu Lab, but I have not had much opportunity to really see the difference between that and the standard way of using TPU.
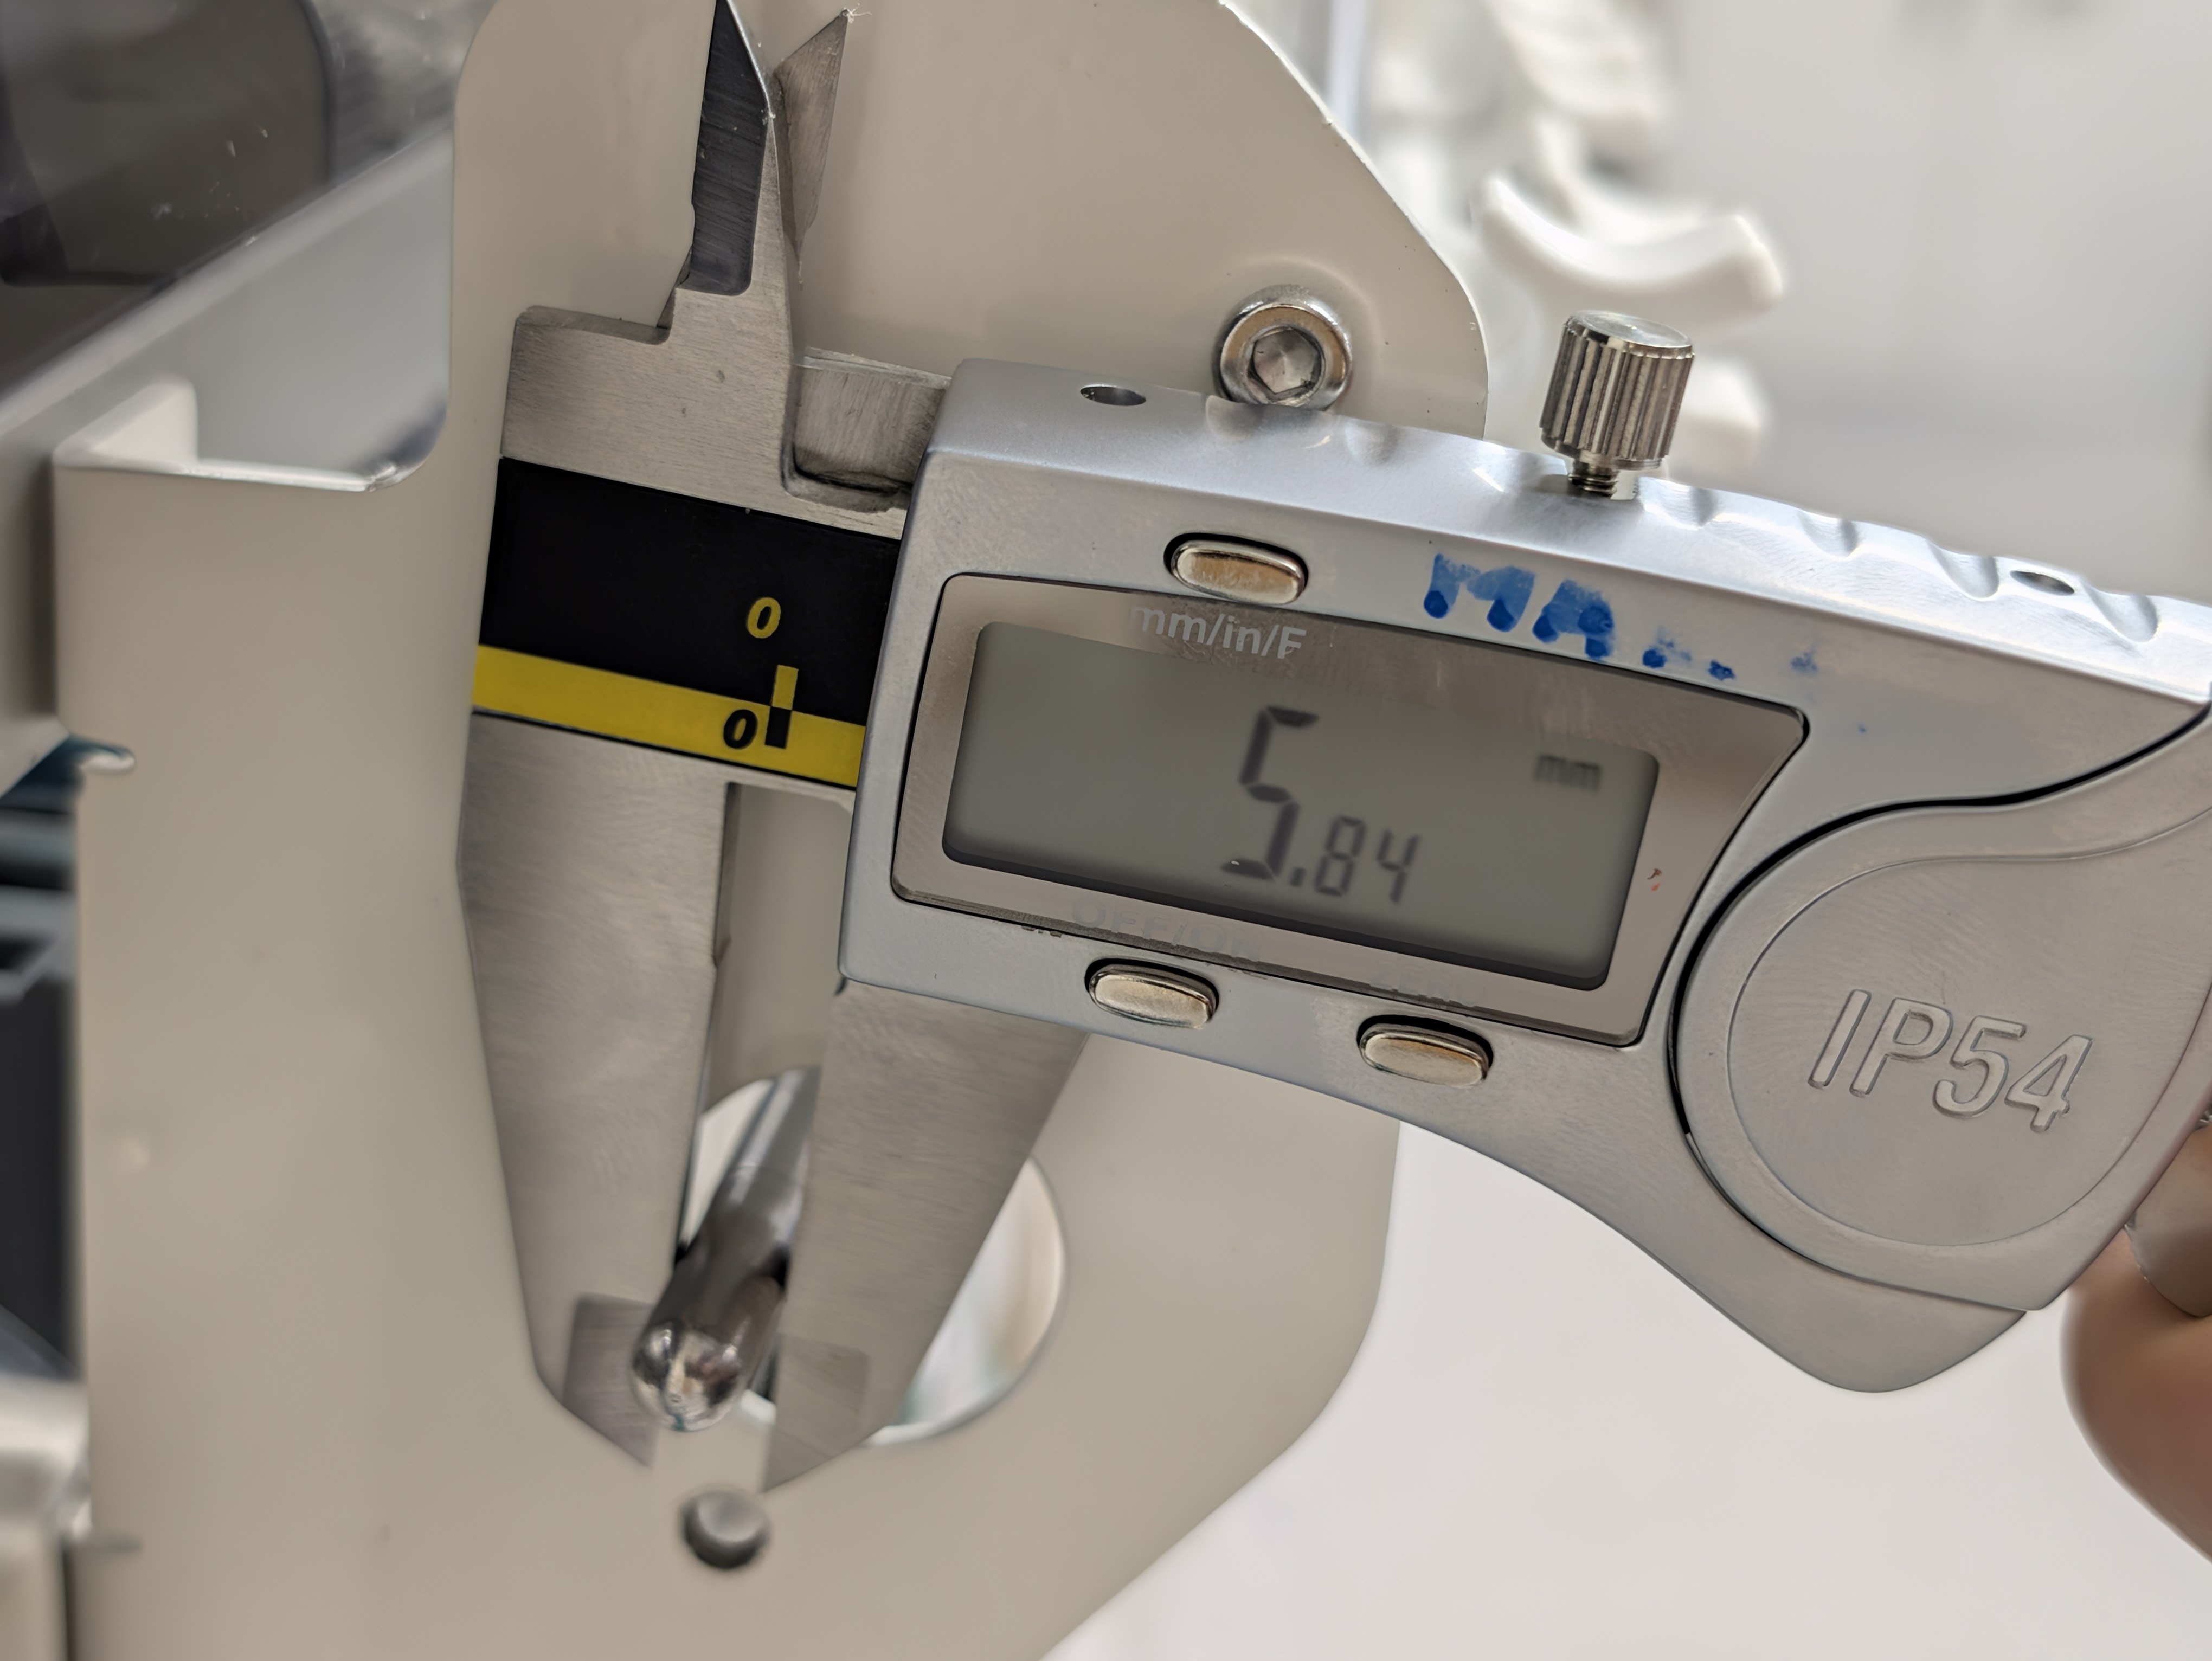
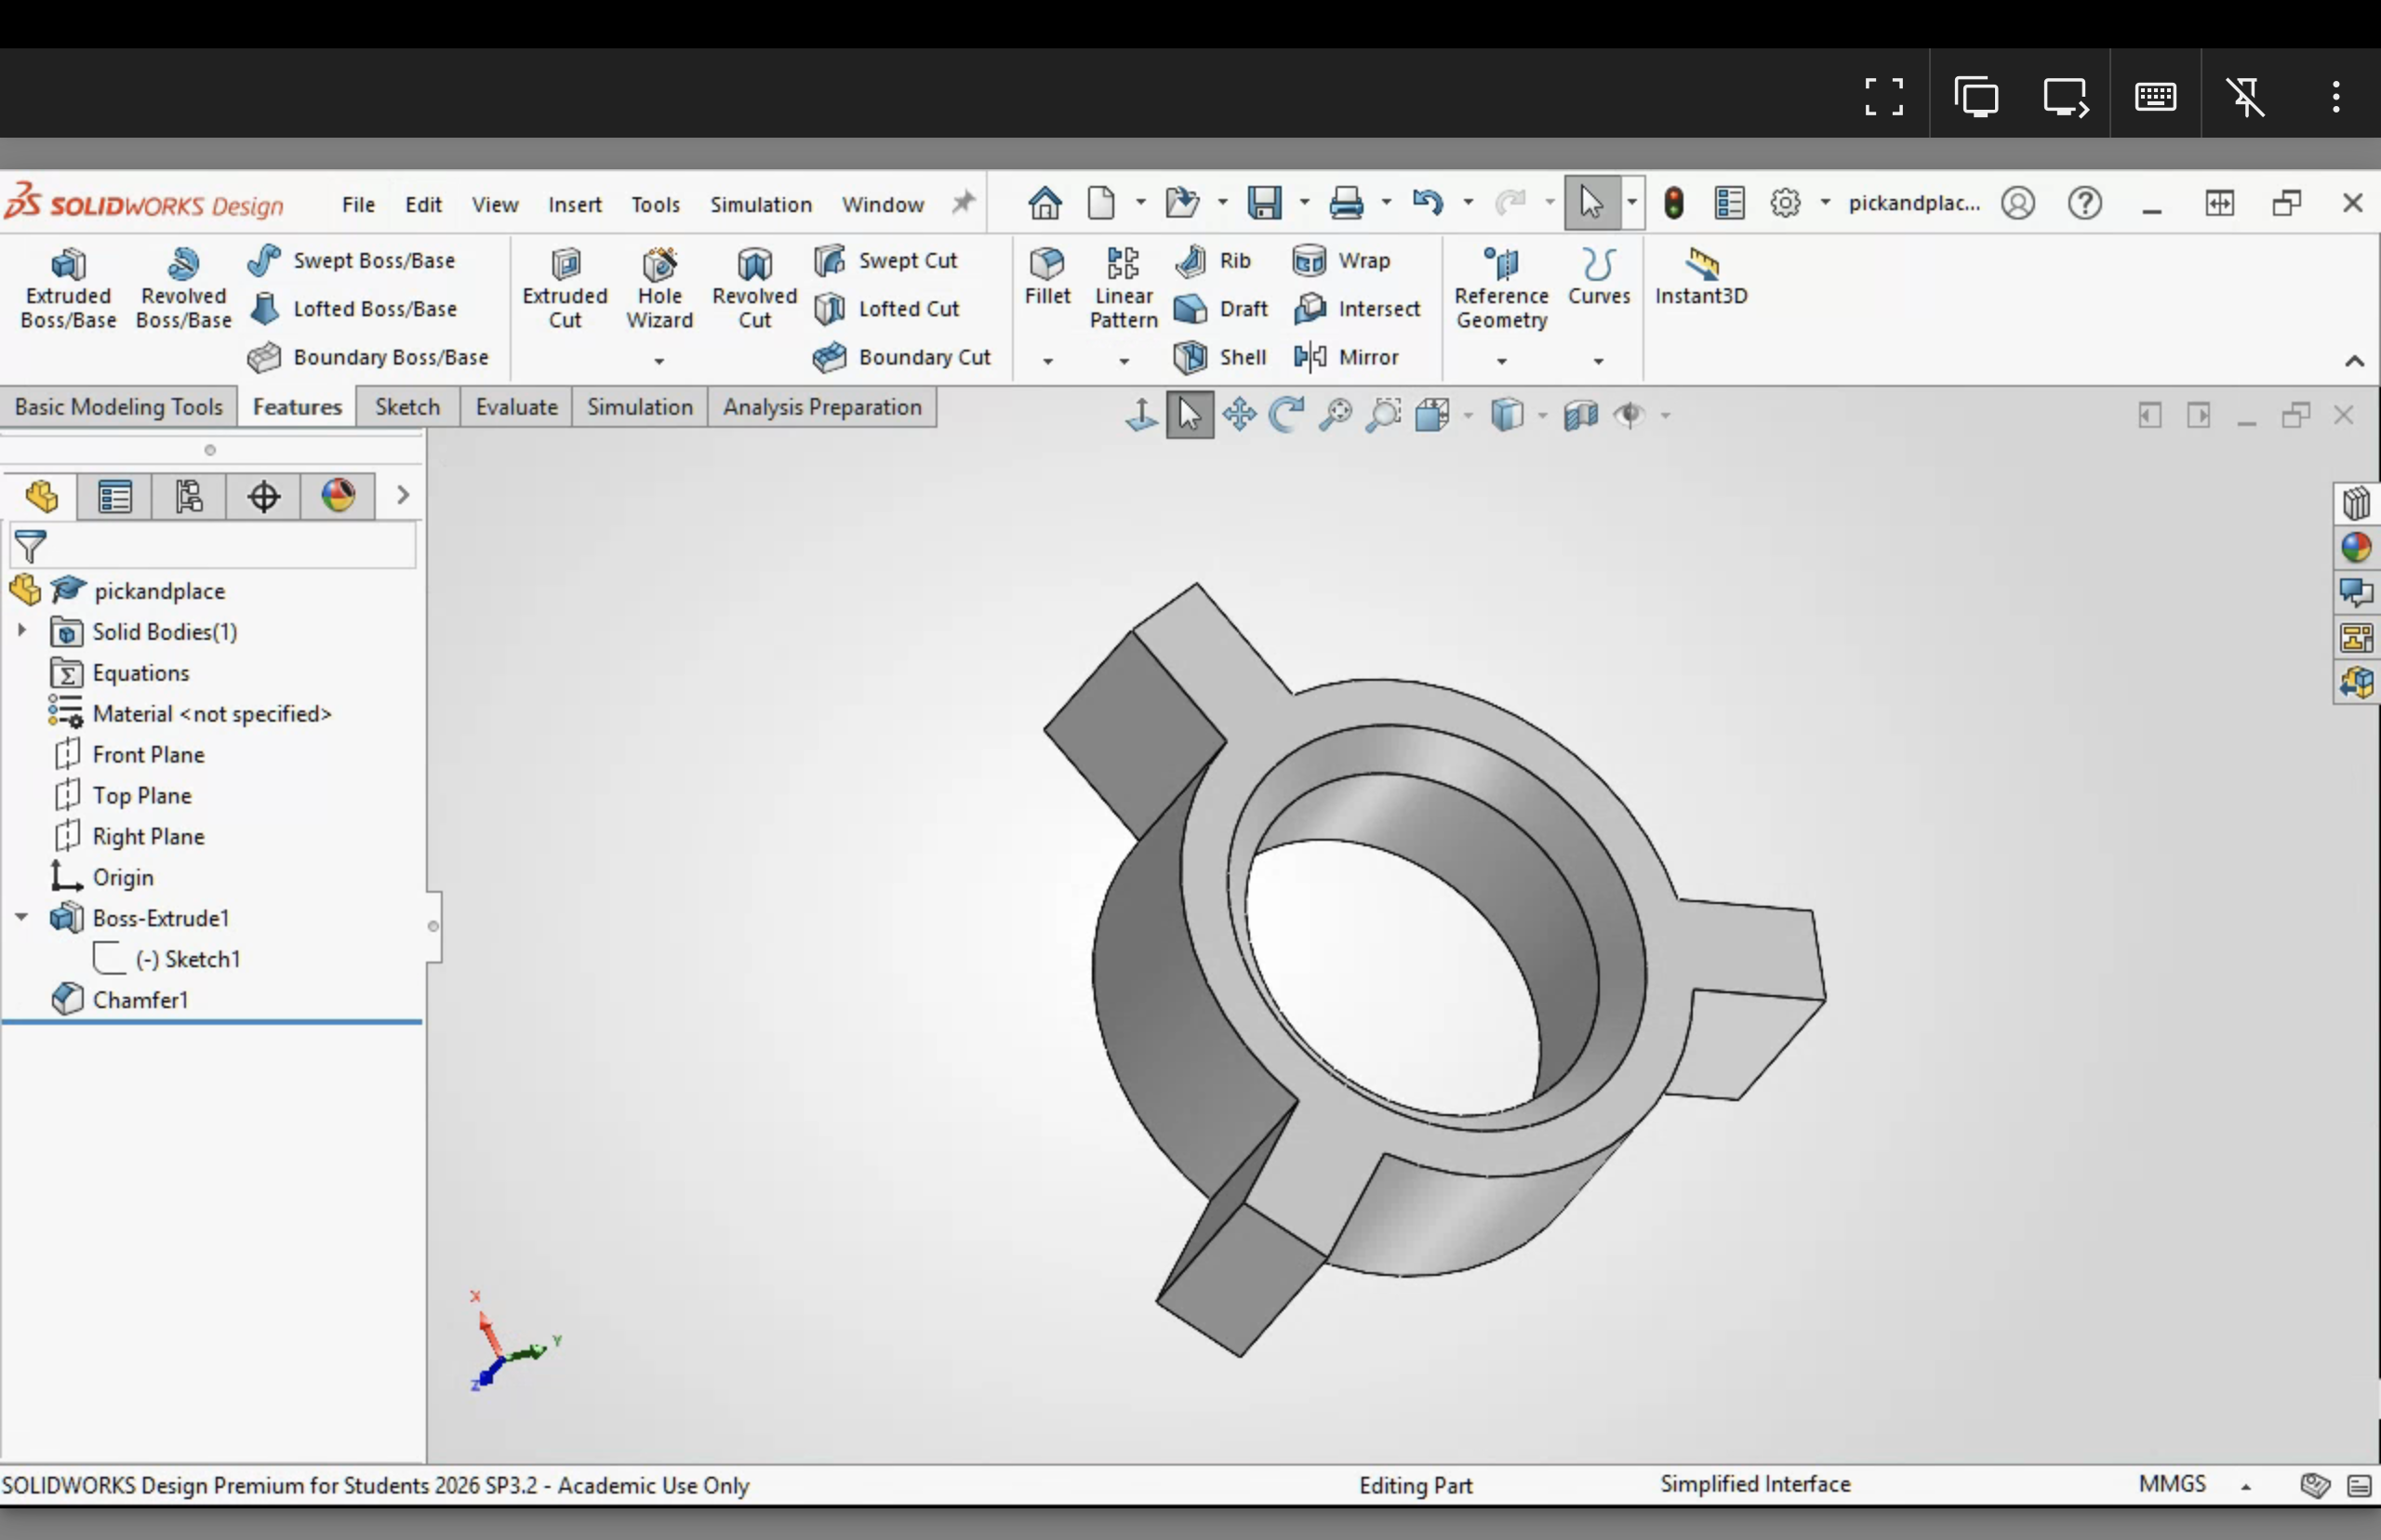
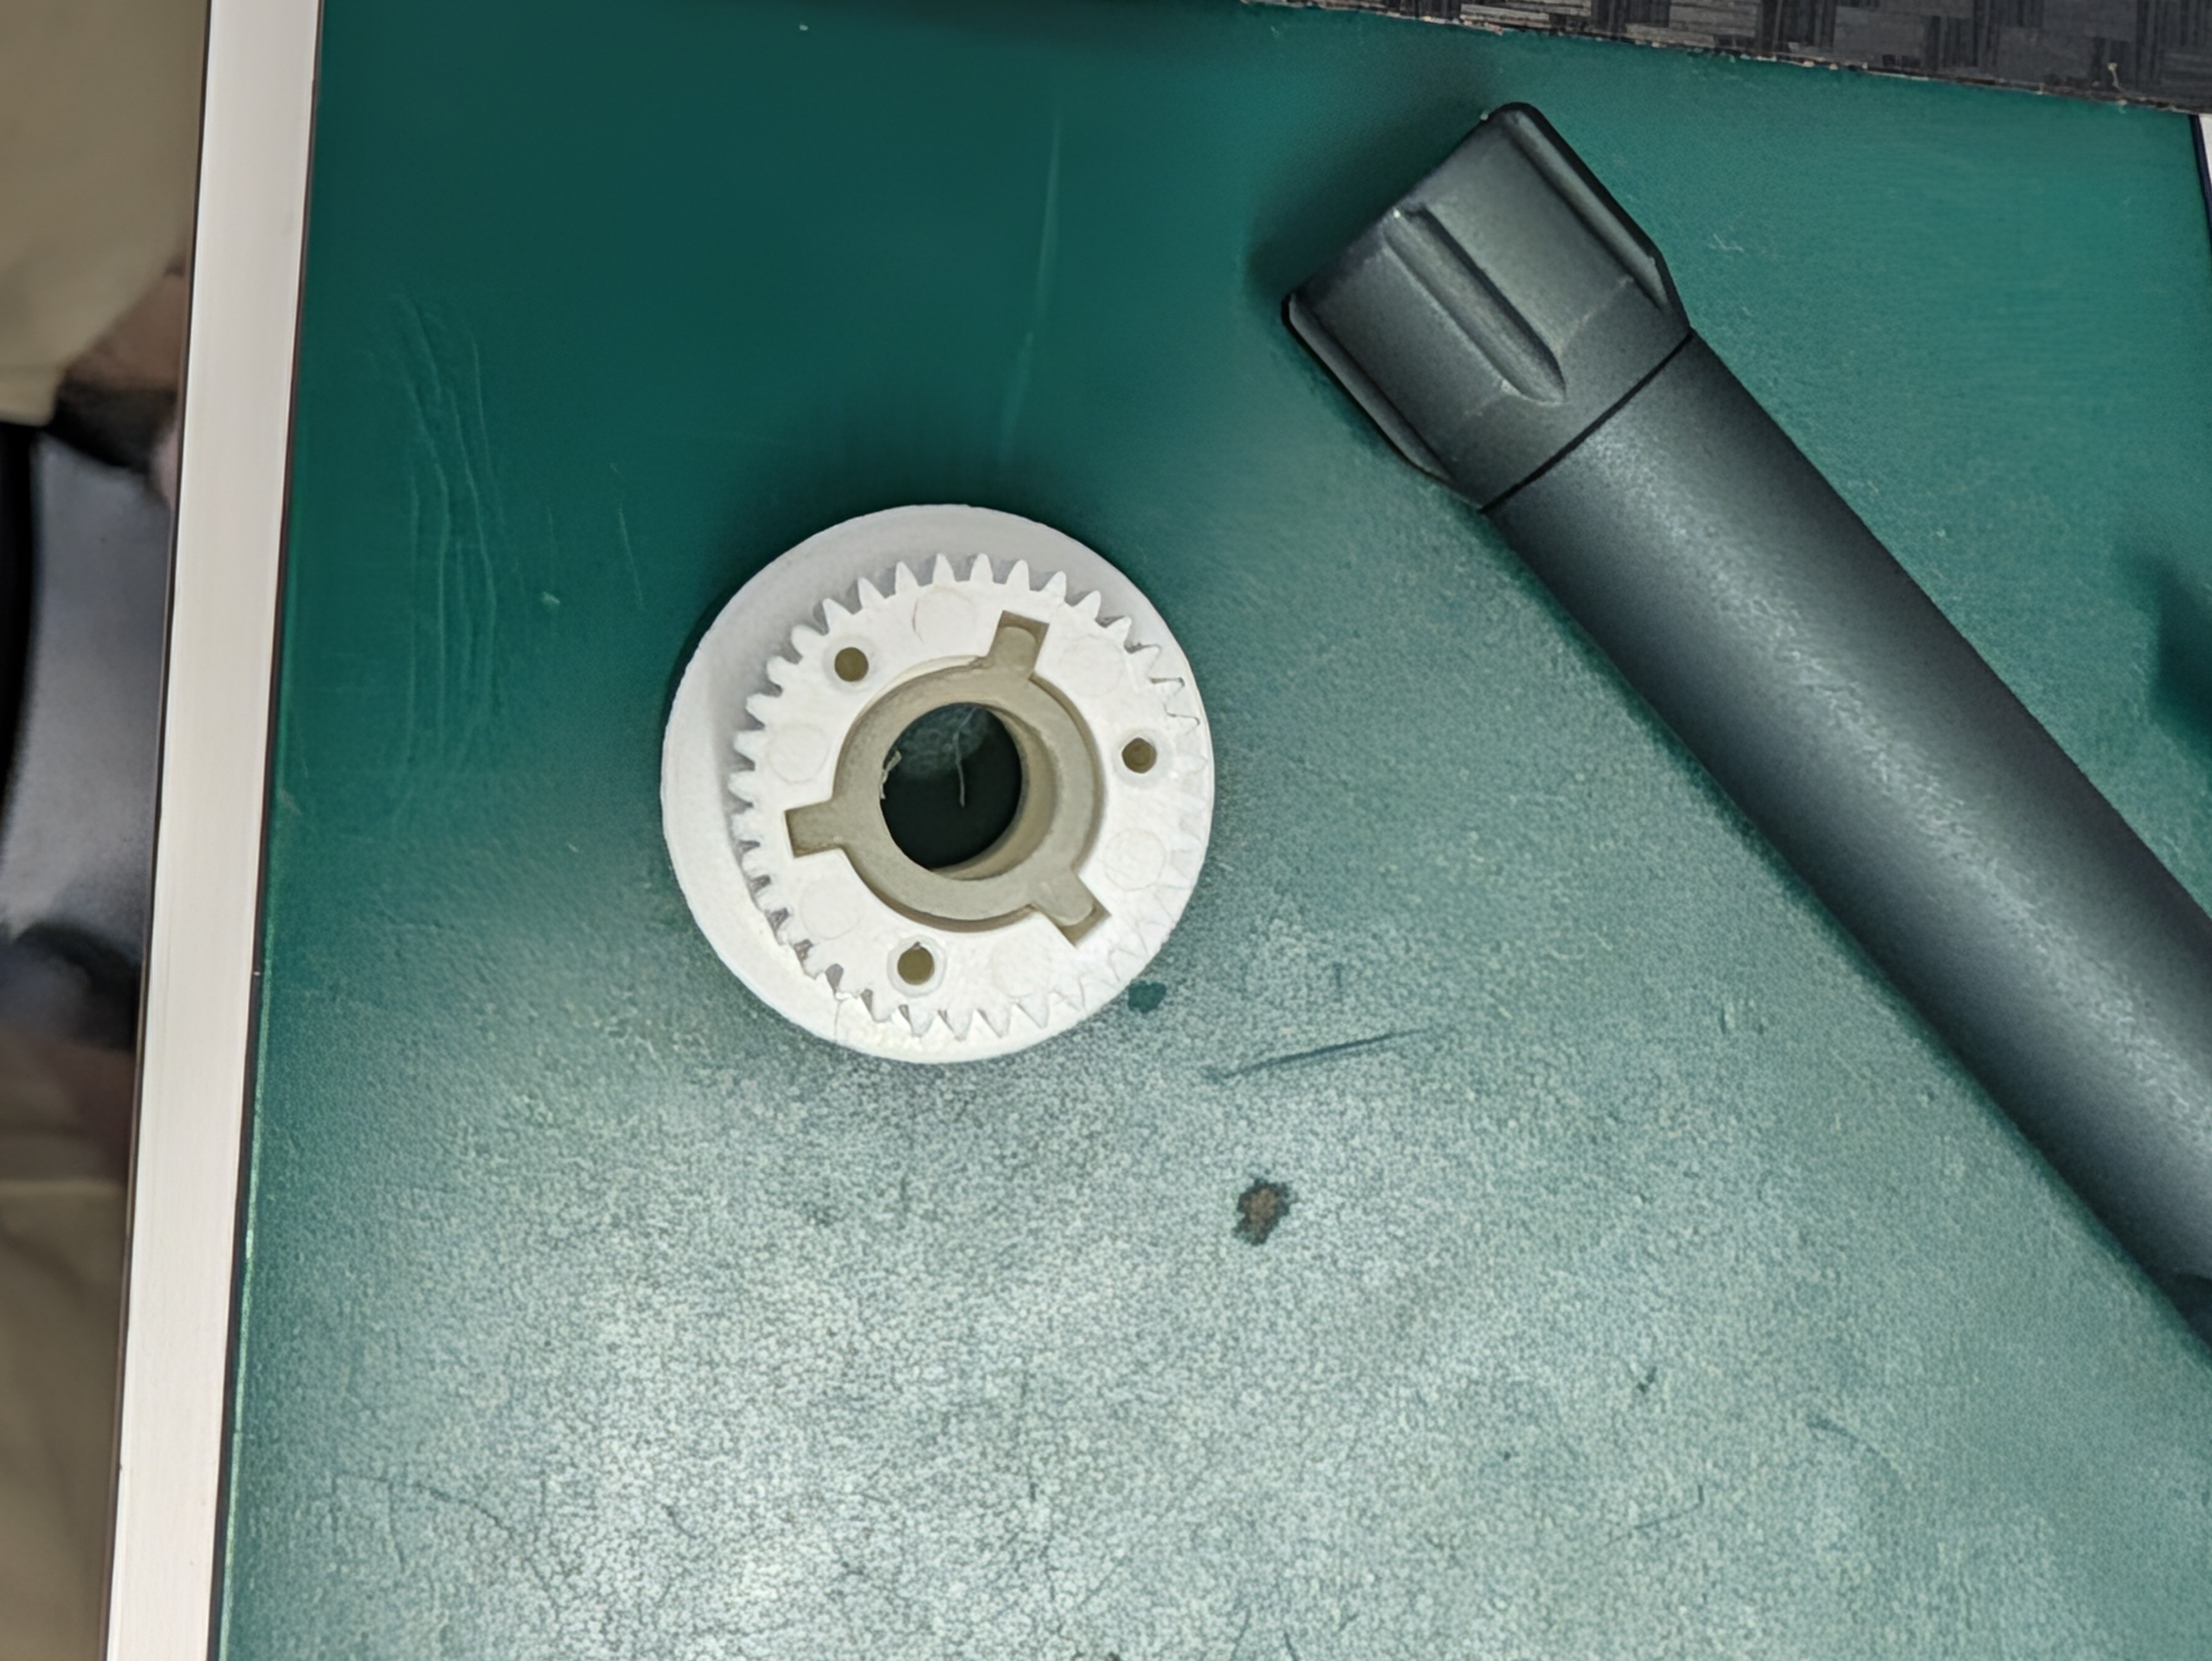
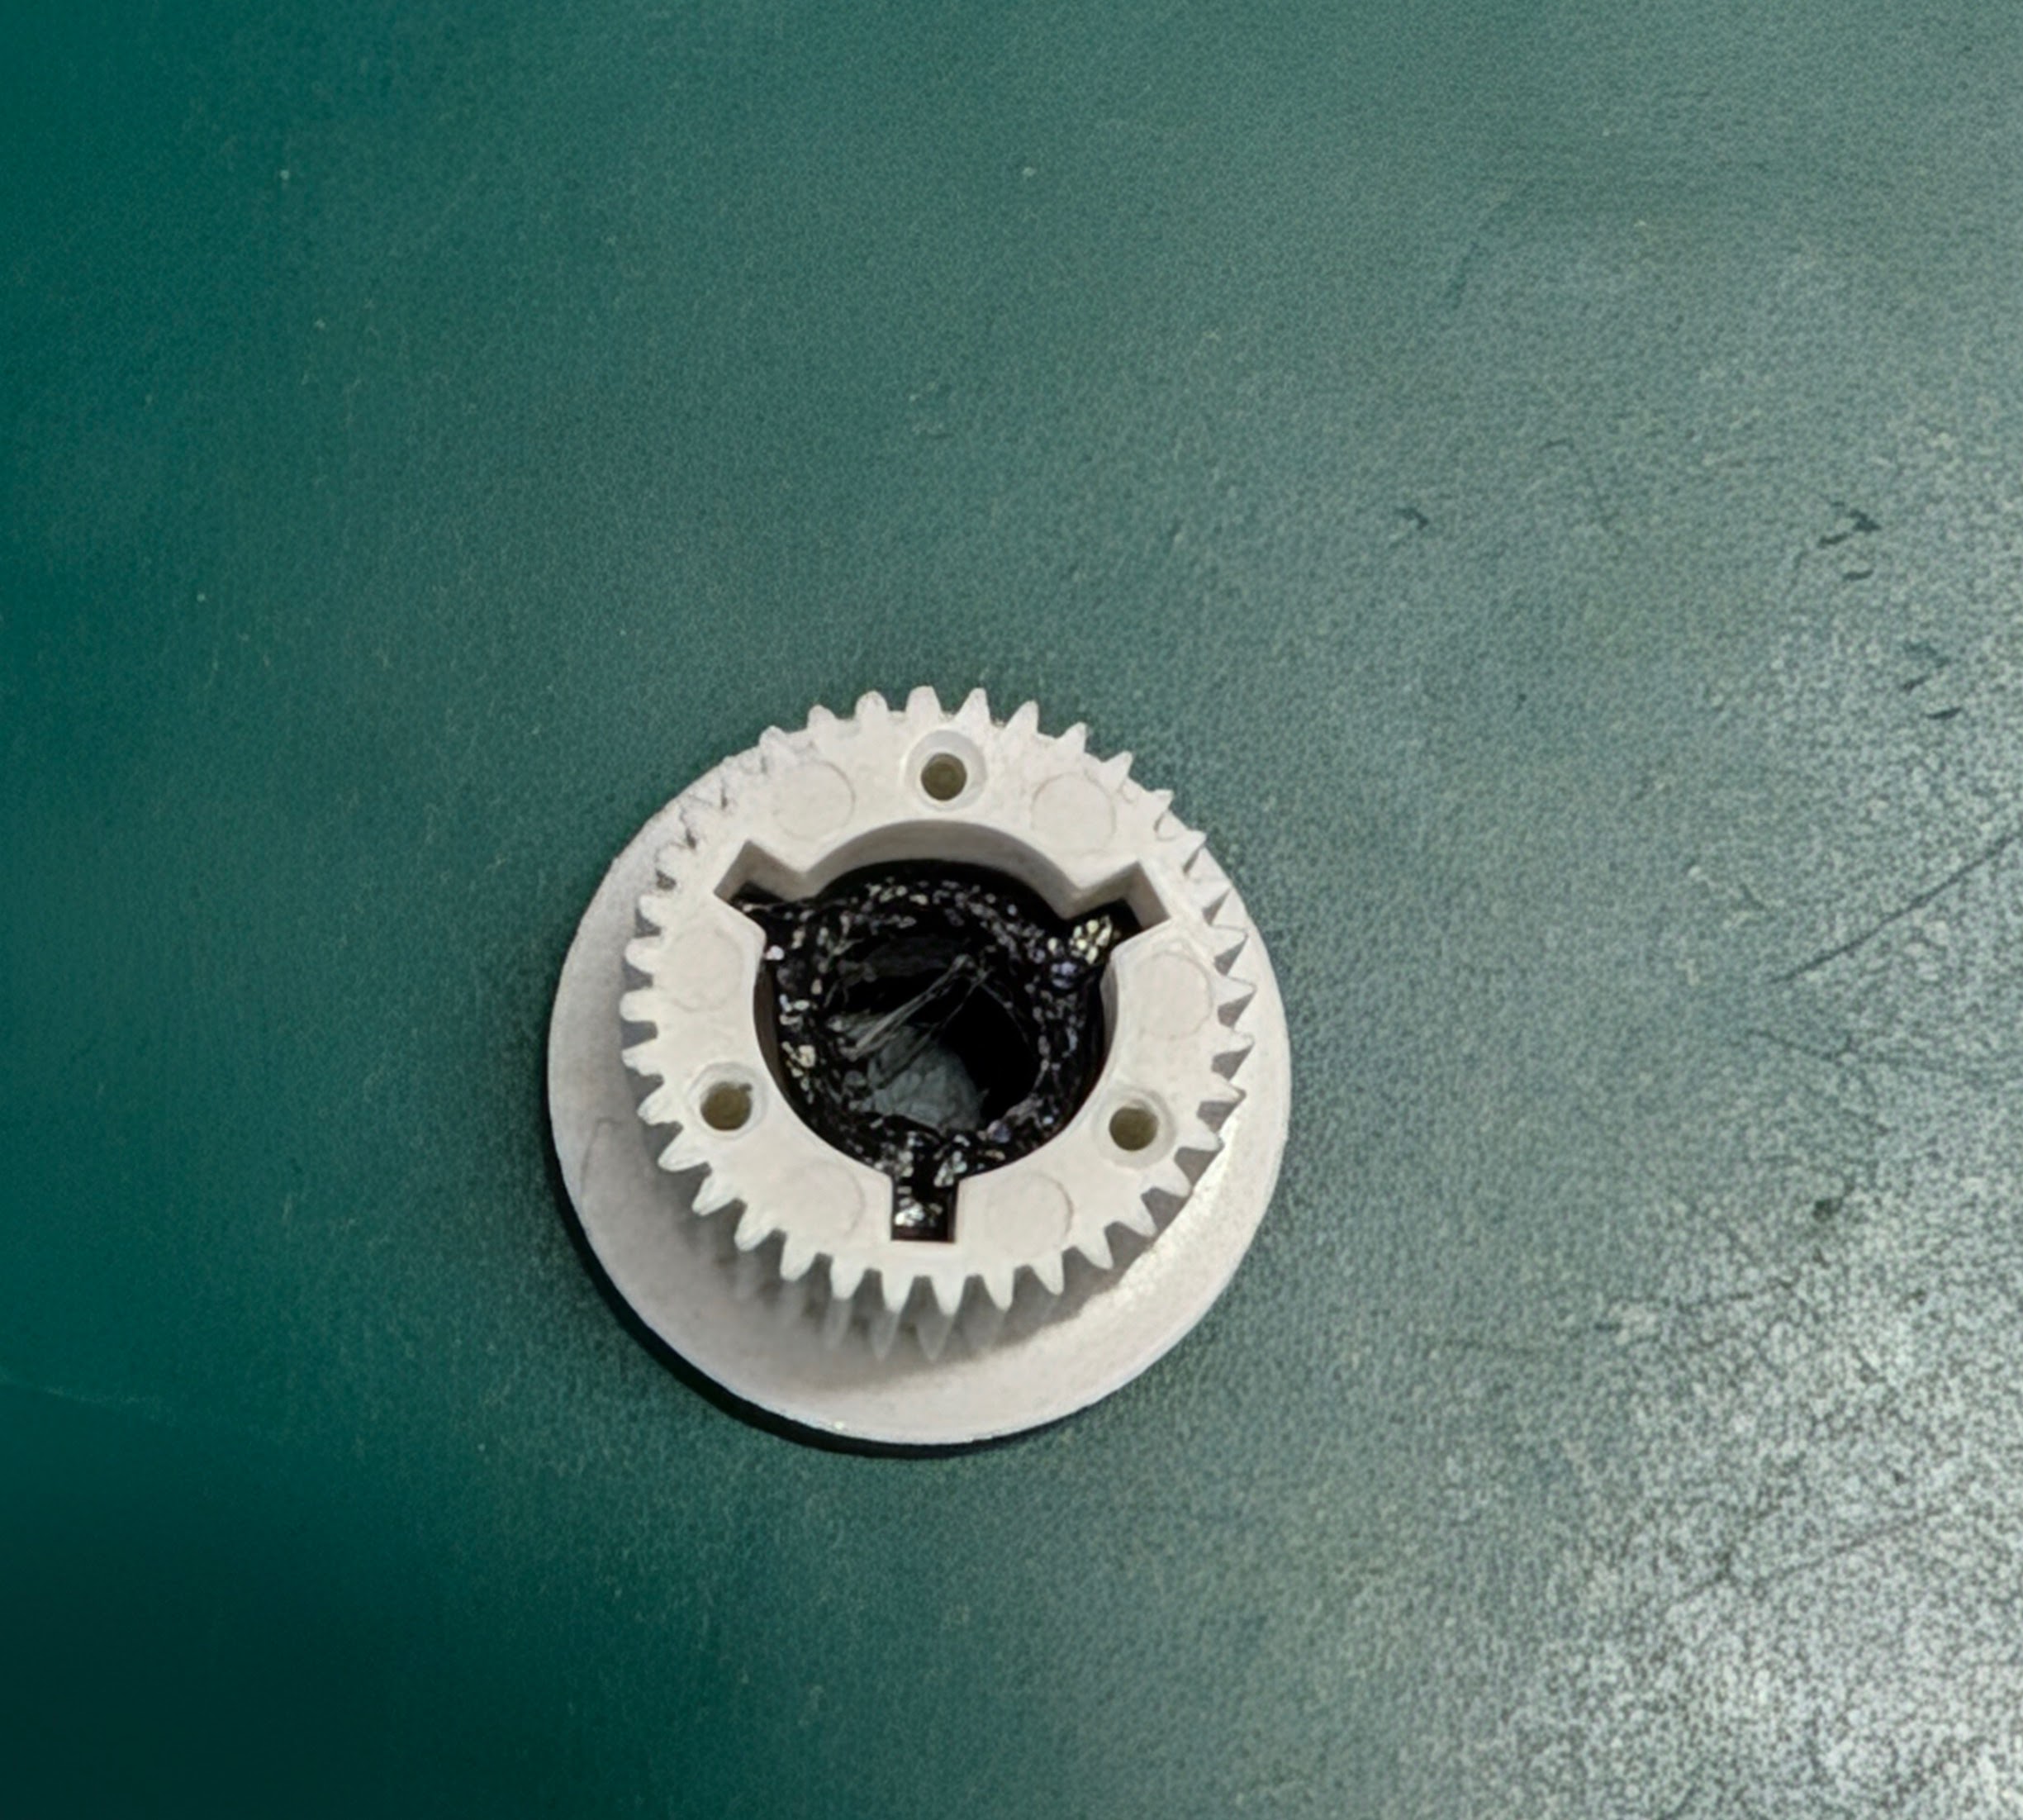
While I was being trained on the Pick and Place Machine for my new ECE Makerspace job, a different student worker discussed an issue with one of the machines that he was having. The machine was failing to pull back the mylar peel sufficiently. My boss is a very busy man, and the next shift I had, I took a look at the machine. I ran the machine over and over again, trying to understand how it actually worked. I realized that the bottom gears were supposed to be way more snug on the motor shaft. I also realized that the gear has screws on it. I took a gear home to study it that night. I found out that it has a small flexible removable insert. I measured it with calipers and recreated it in SOLIDWORKS, except with a smaller diameter. I loaded (regrettably undried) TPU into my 3D Printer, set it to print a few dozen, and went to bed.
This was what the gear looked like when taken apart:
This is what the gear looked like when I added my custom part:
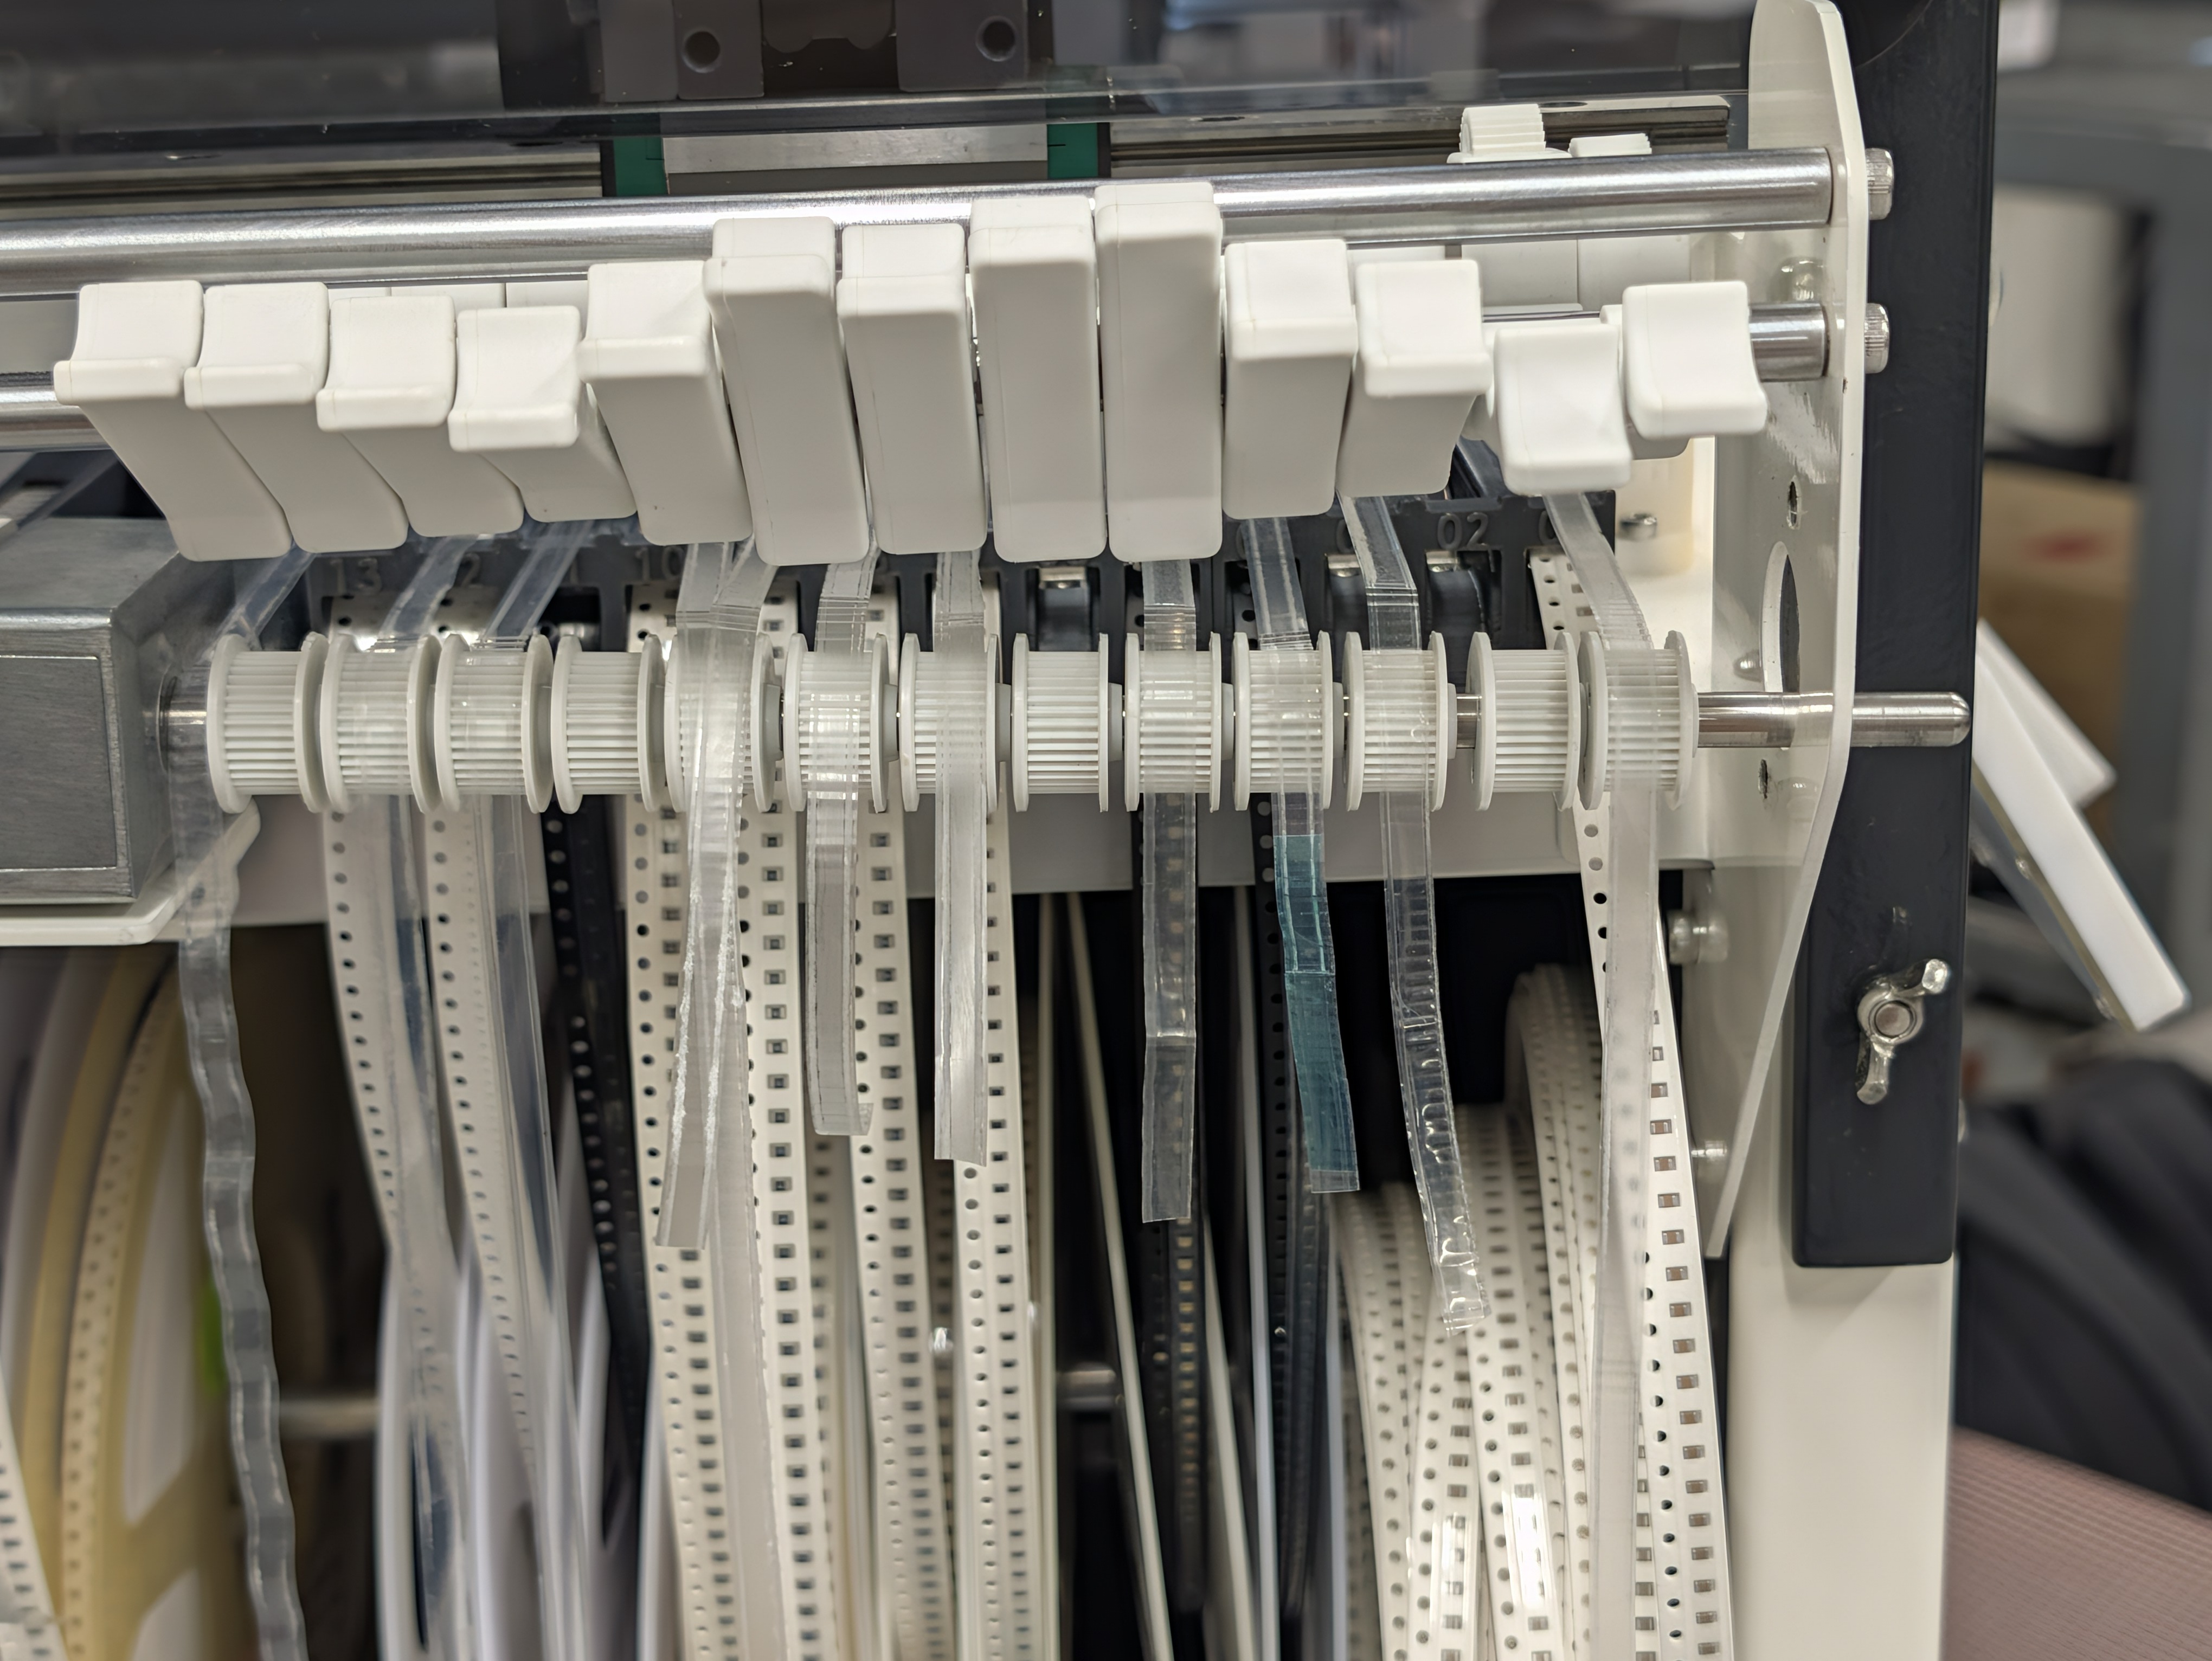
This is the rail of gears. Quite surprisingly, this has worked and the machine now pulled the mylar with ease. Very rarely does a fix work the first time, so I will keep an eye on this.
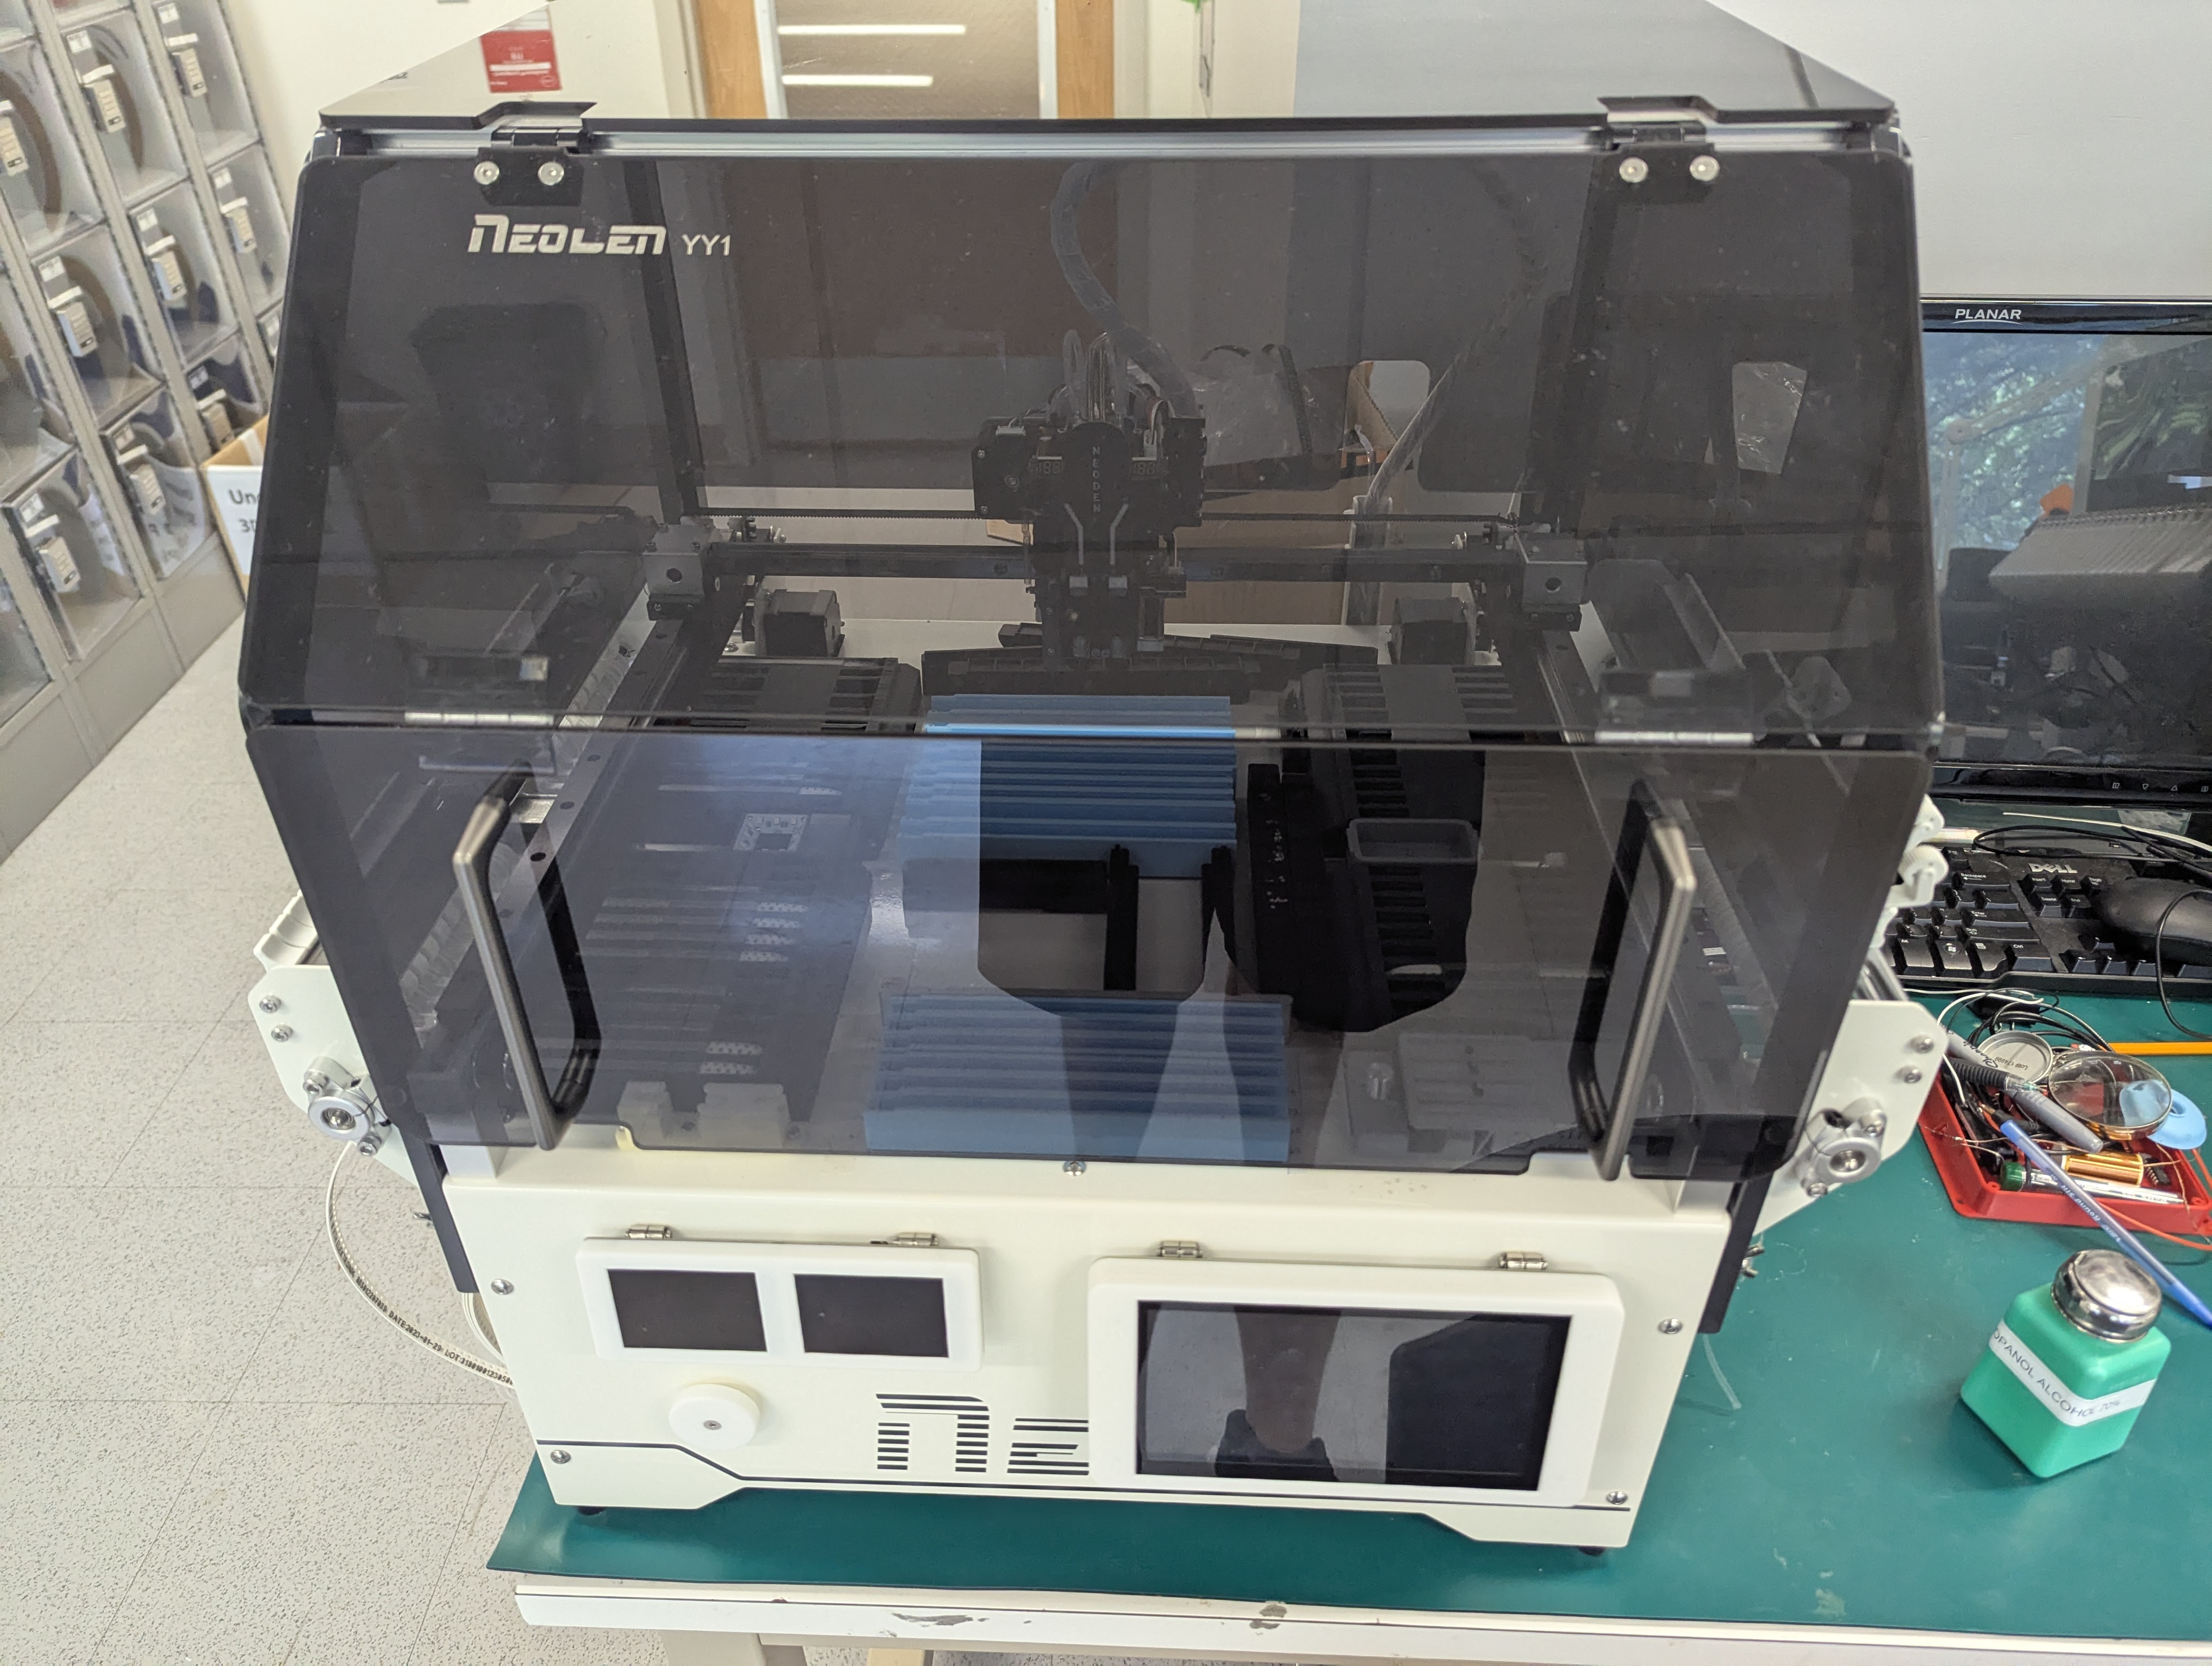
Printer Picture:
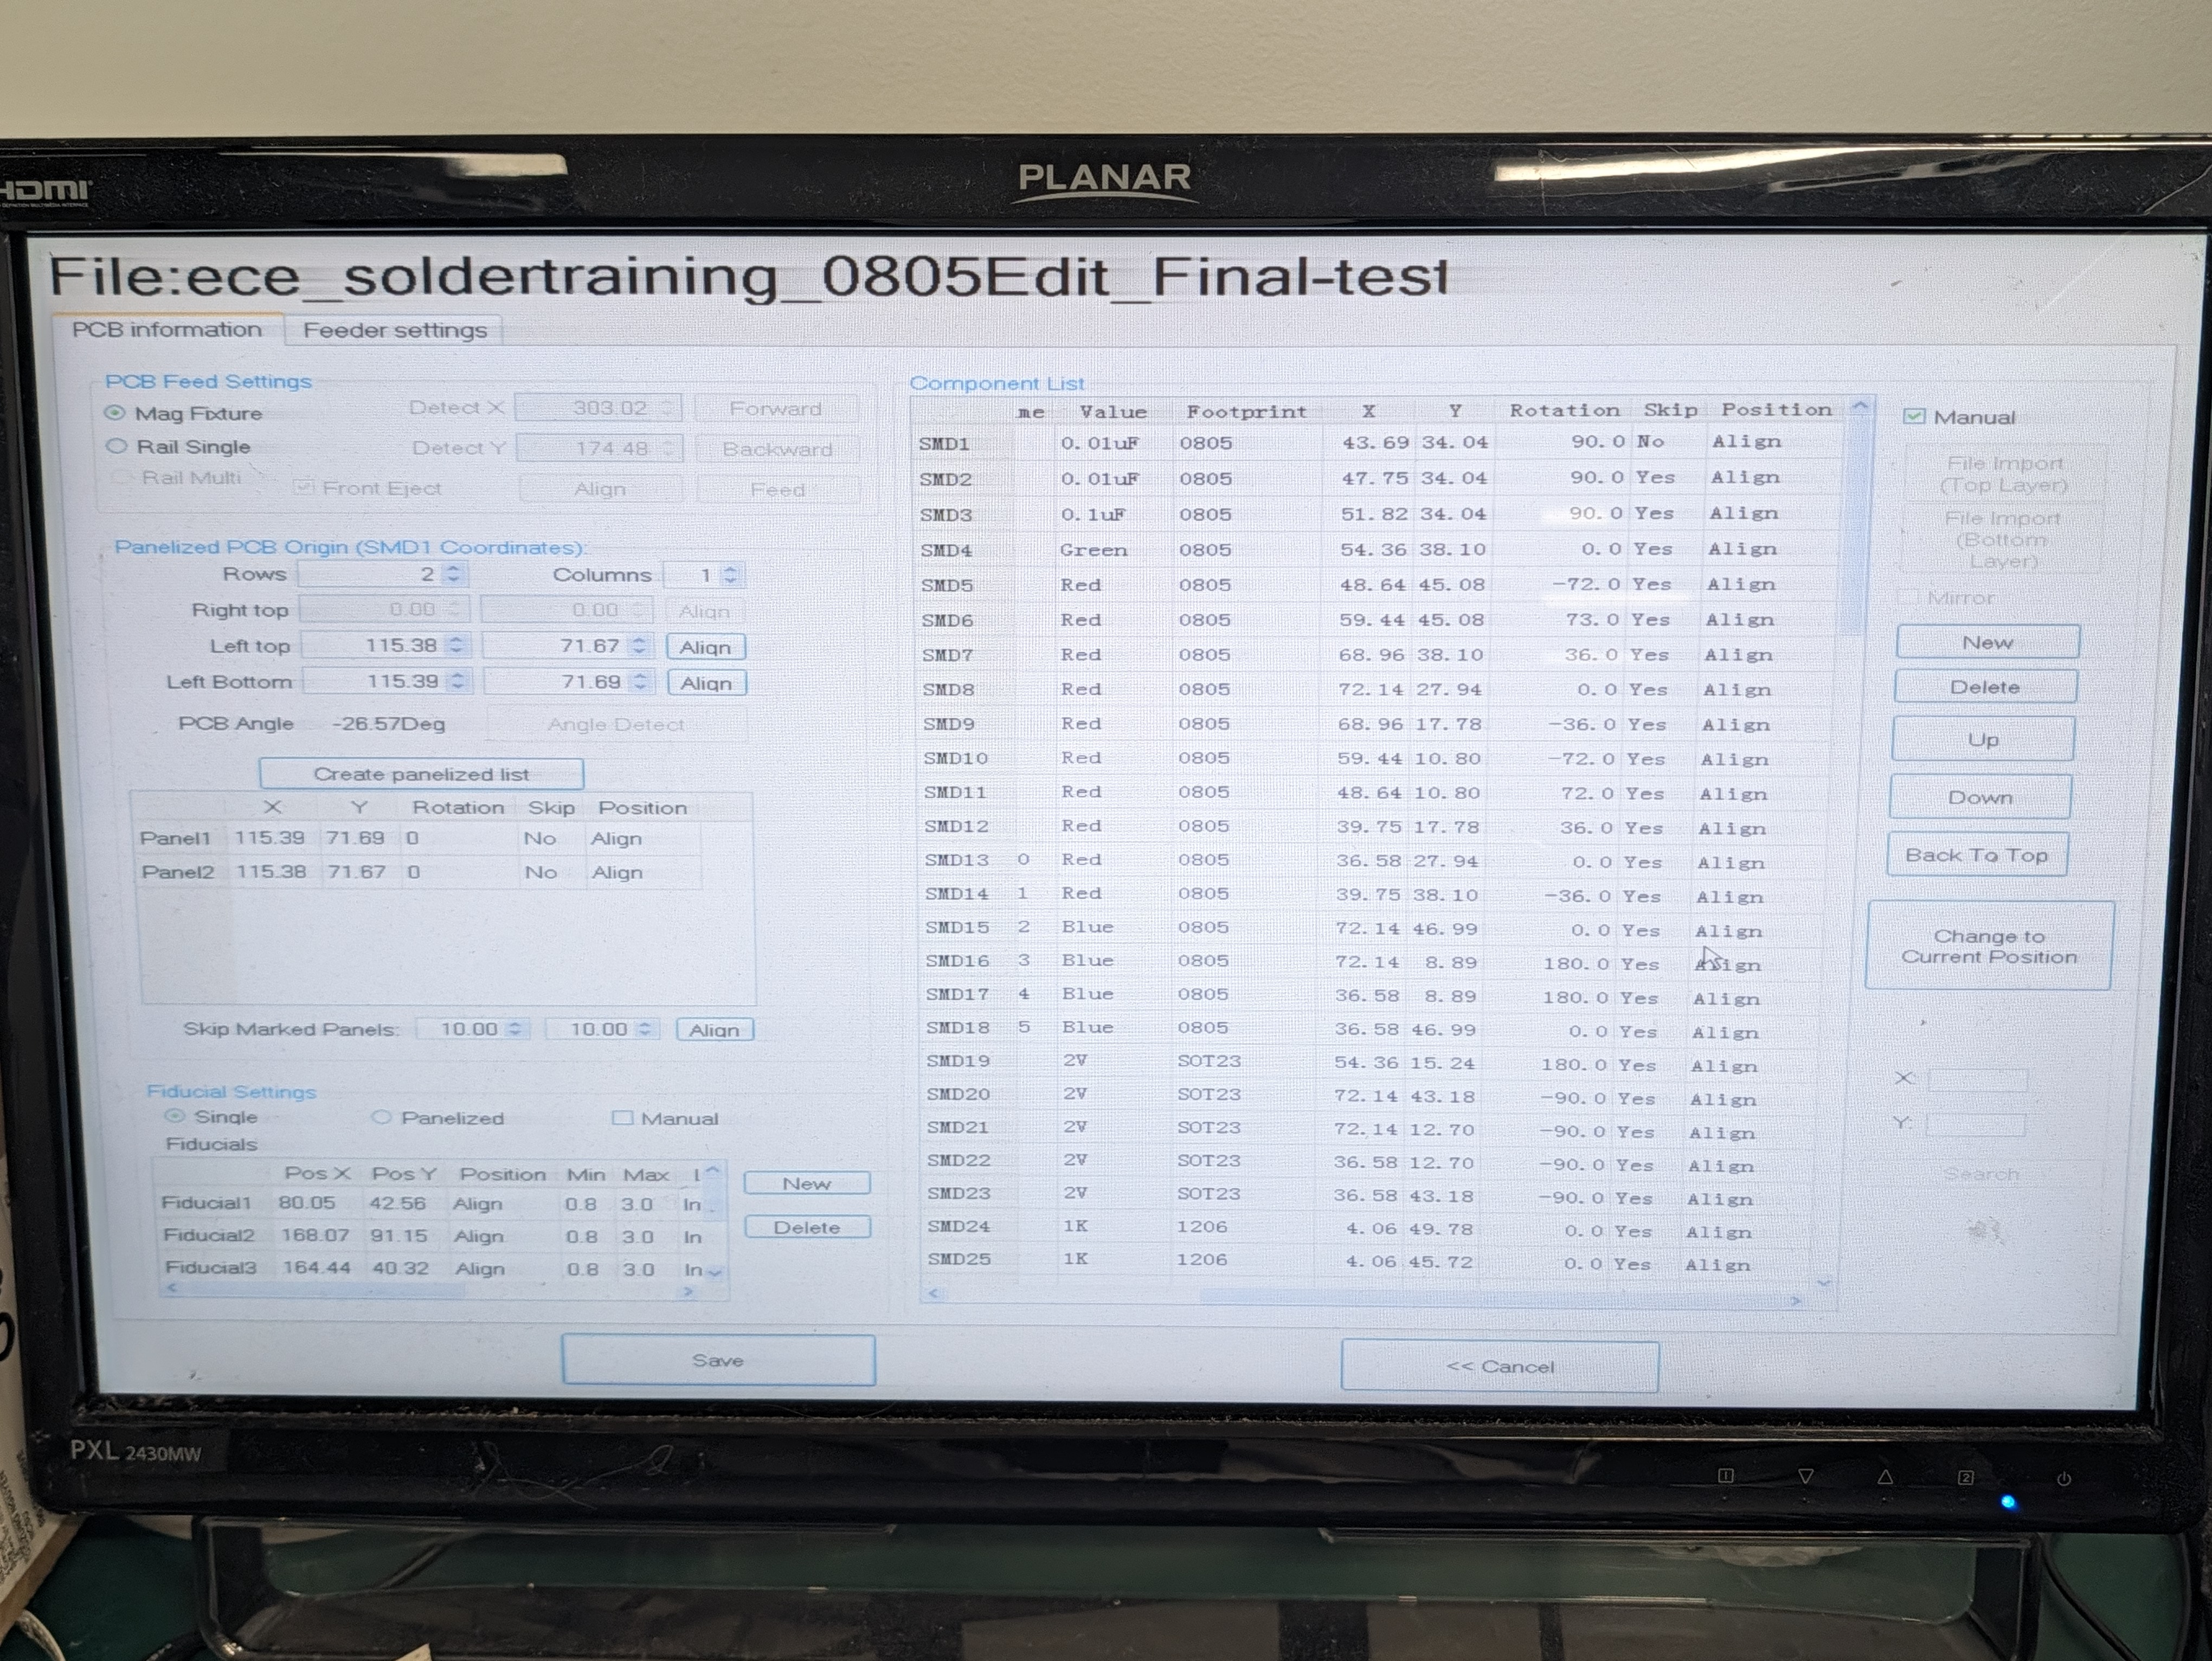
This the program that the older pick and place machine uses. It is very basic, and by default you would have to enter each location value manually or go through a convoluted process to import it. I tested out the new Gemini 4 Argon Task mode to create a python program with a gui that could take a weirdly formatted csv export from the machine and adjust all of the component positions based on the location of the feducials. I iterated and made it able to convert a CSV export from KiCad to the CSV format the NeoDen expects.
My new phone has qi2 charging support. This is what some people call MagSafe: wireless inductive charging with a magnet to optimize charge rate and reduce waste heat production. I saw how expensive qi2 charging stands were on Amazon, so I bought good-enough anker standalones, got my calipers out, and got to work. I also wanted a bit of passive cooling, just because keeping your phone cool can potentially extend the length of your battery capacity/life.
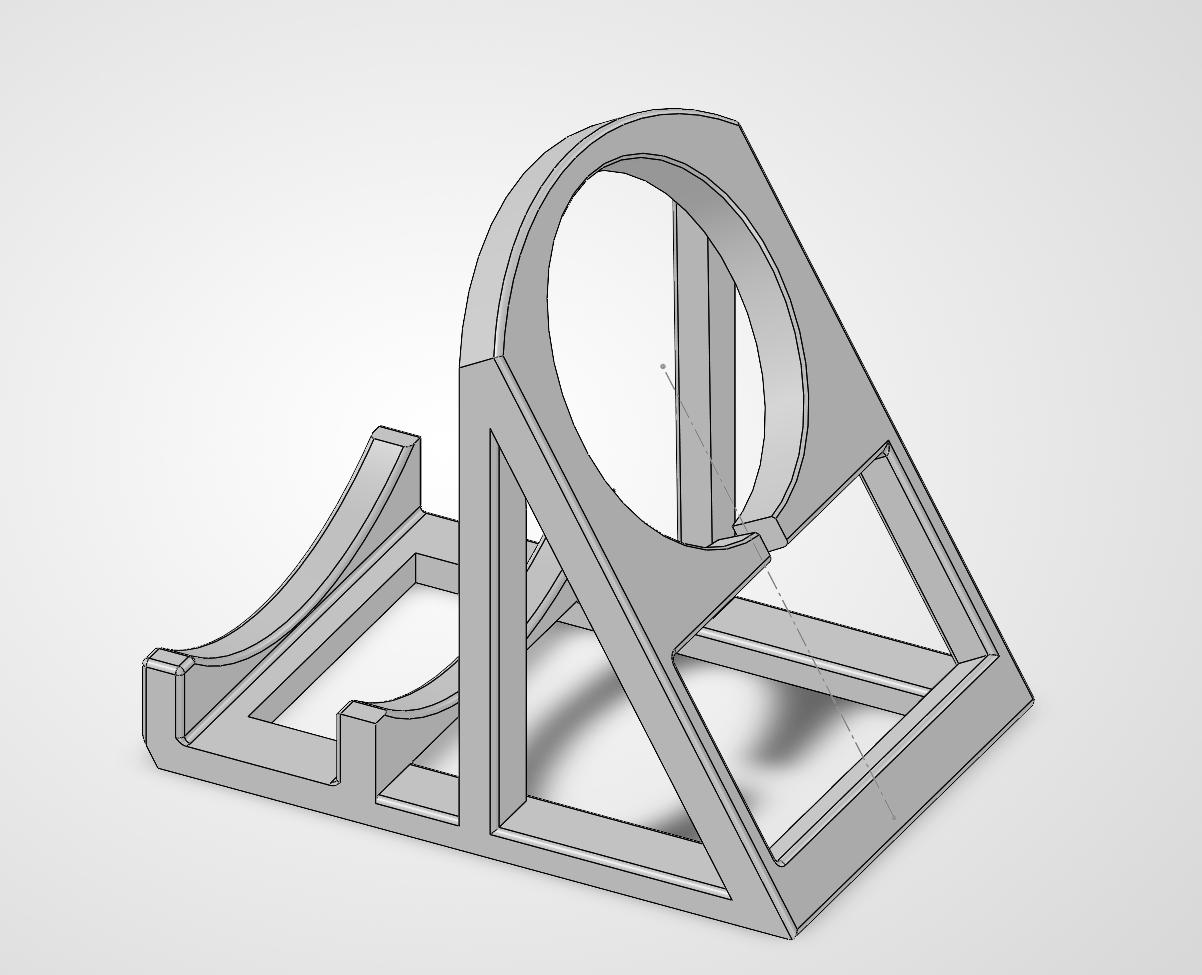
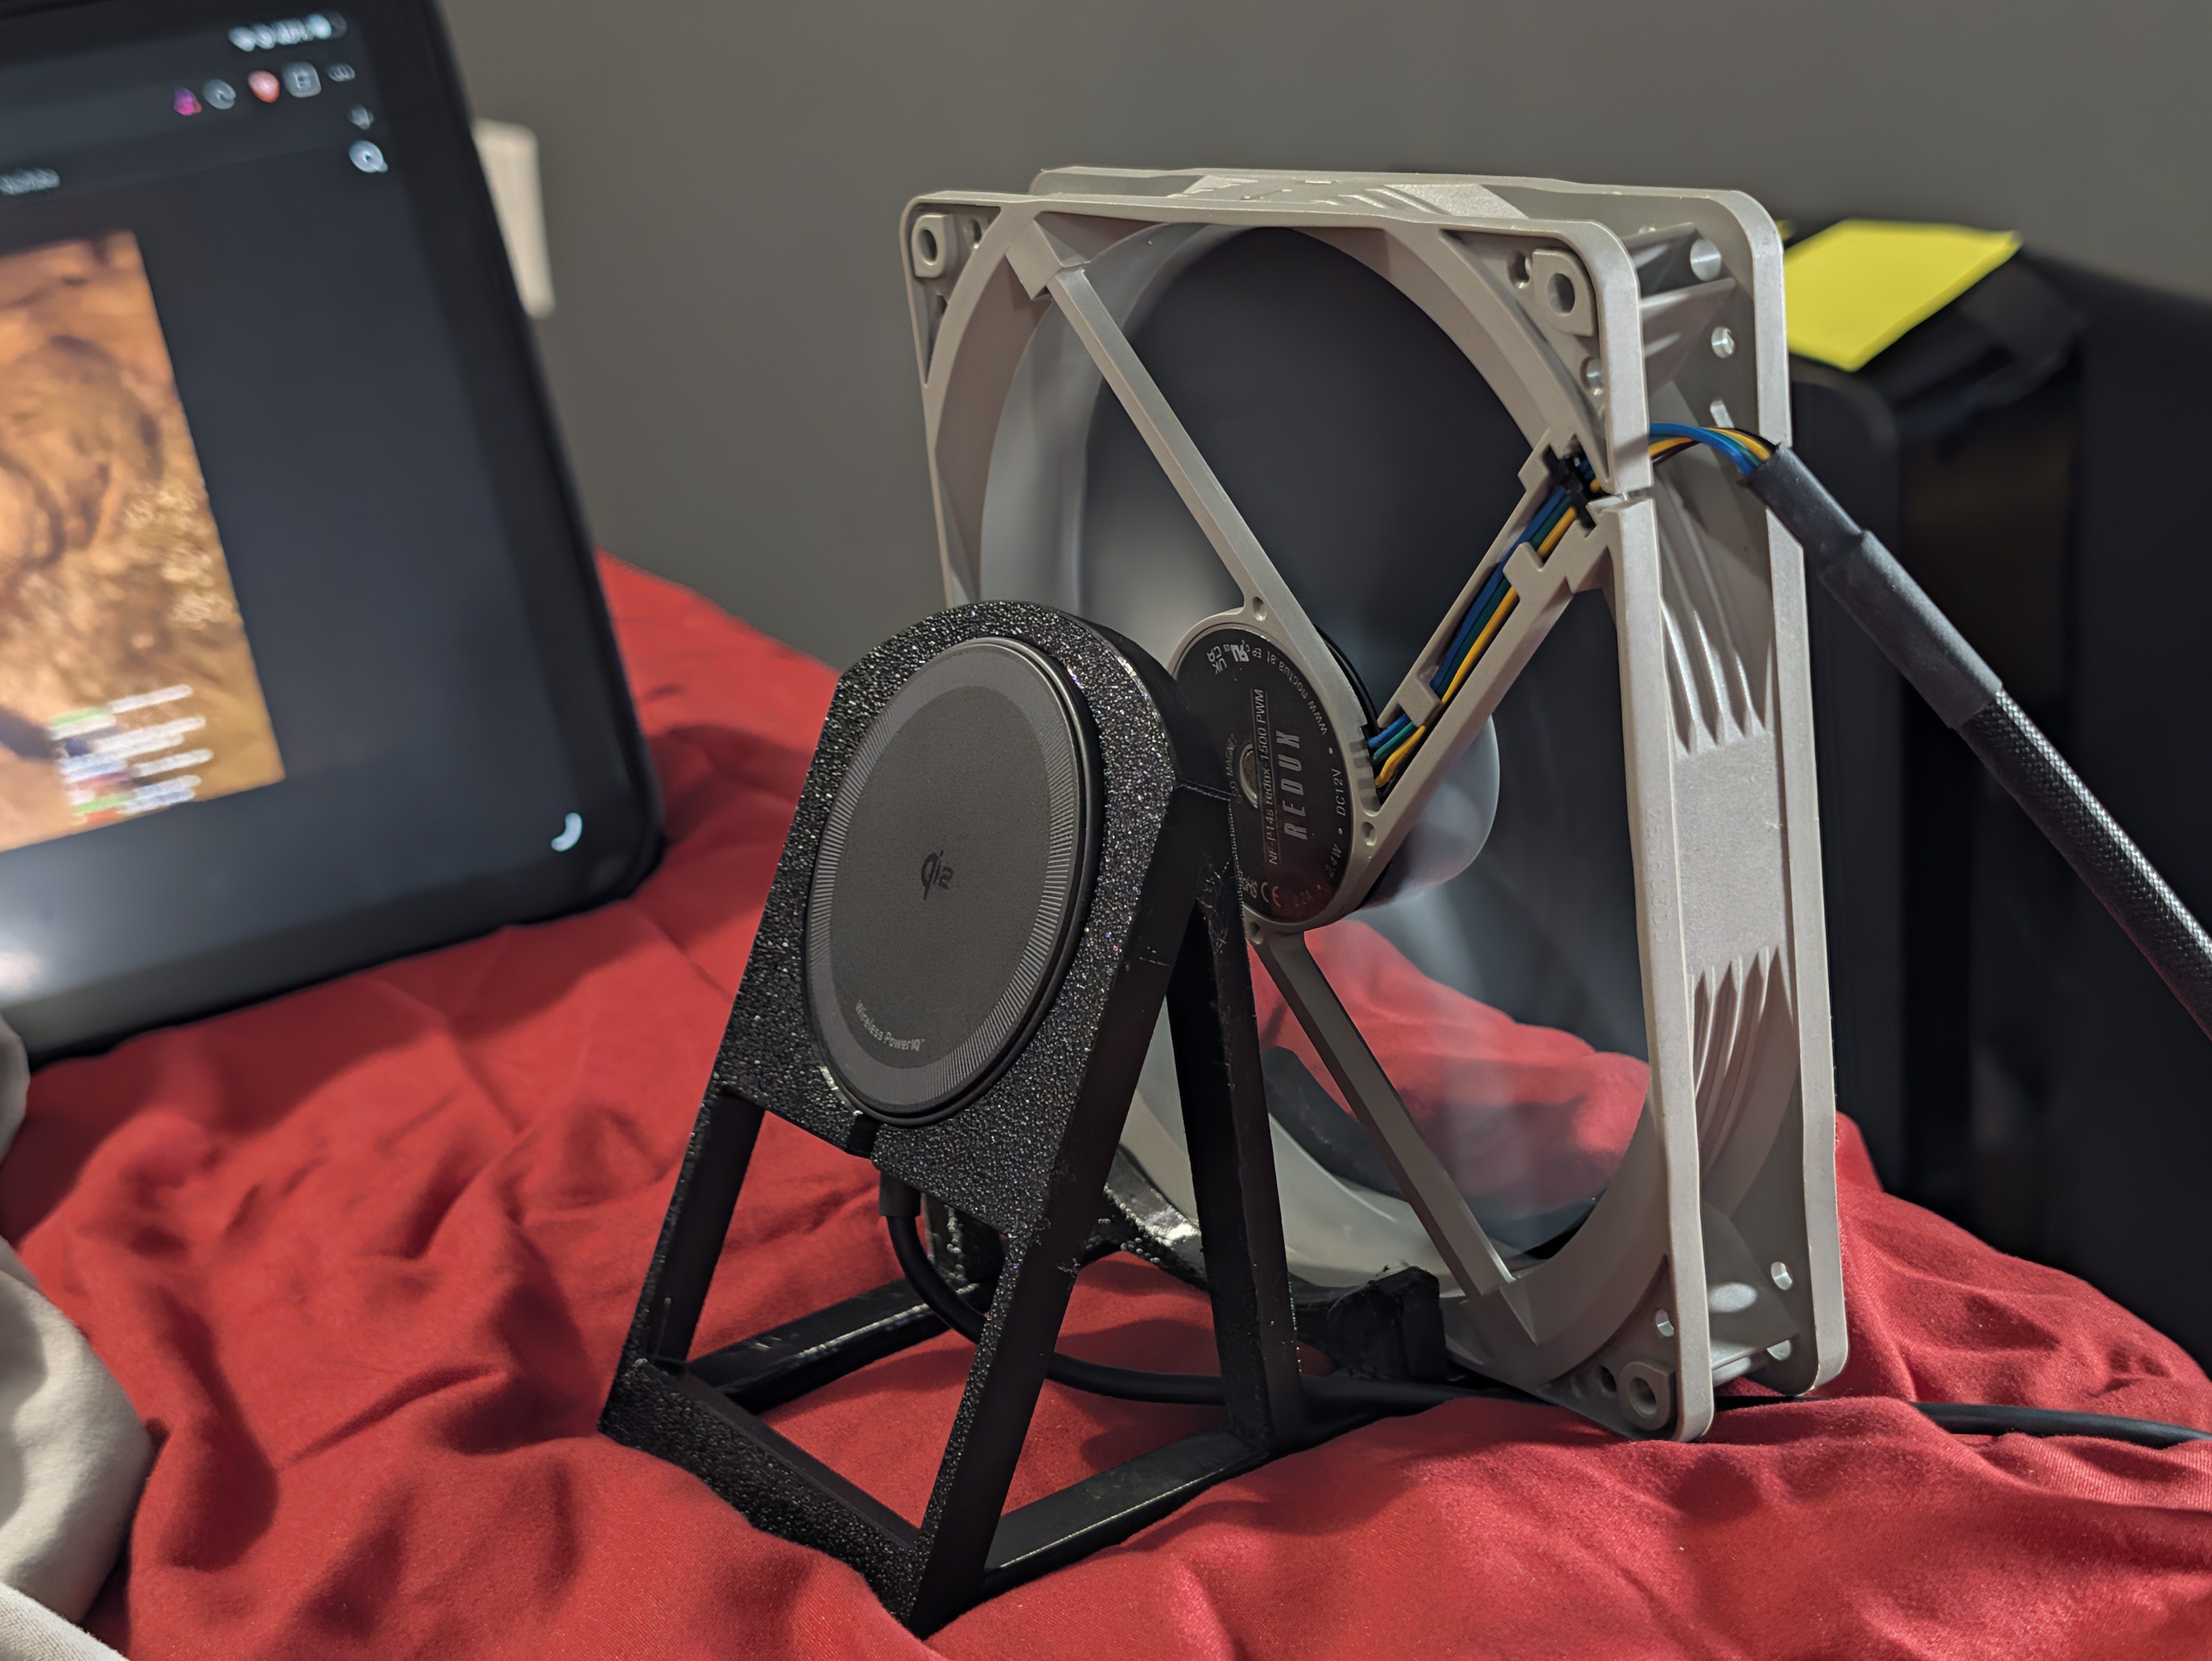
This is the final product. The qi2 charger pushes into the slot and has just enough friction to keep it in place but let it move slightly to come meet the phone a bit. Later on, I hotglued the fan to the stand because it is unshielded, would fall down and make a terrifying noise.
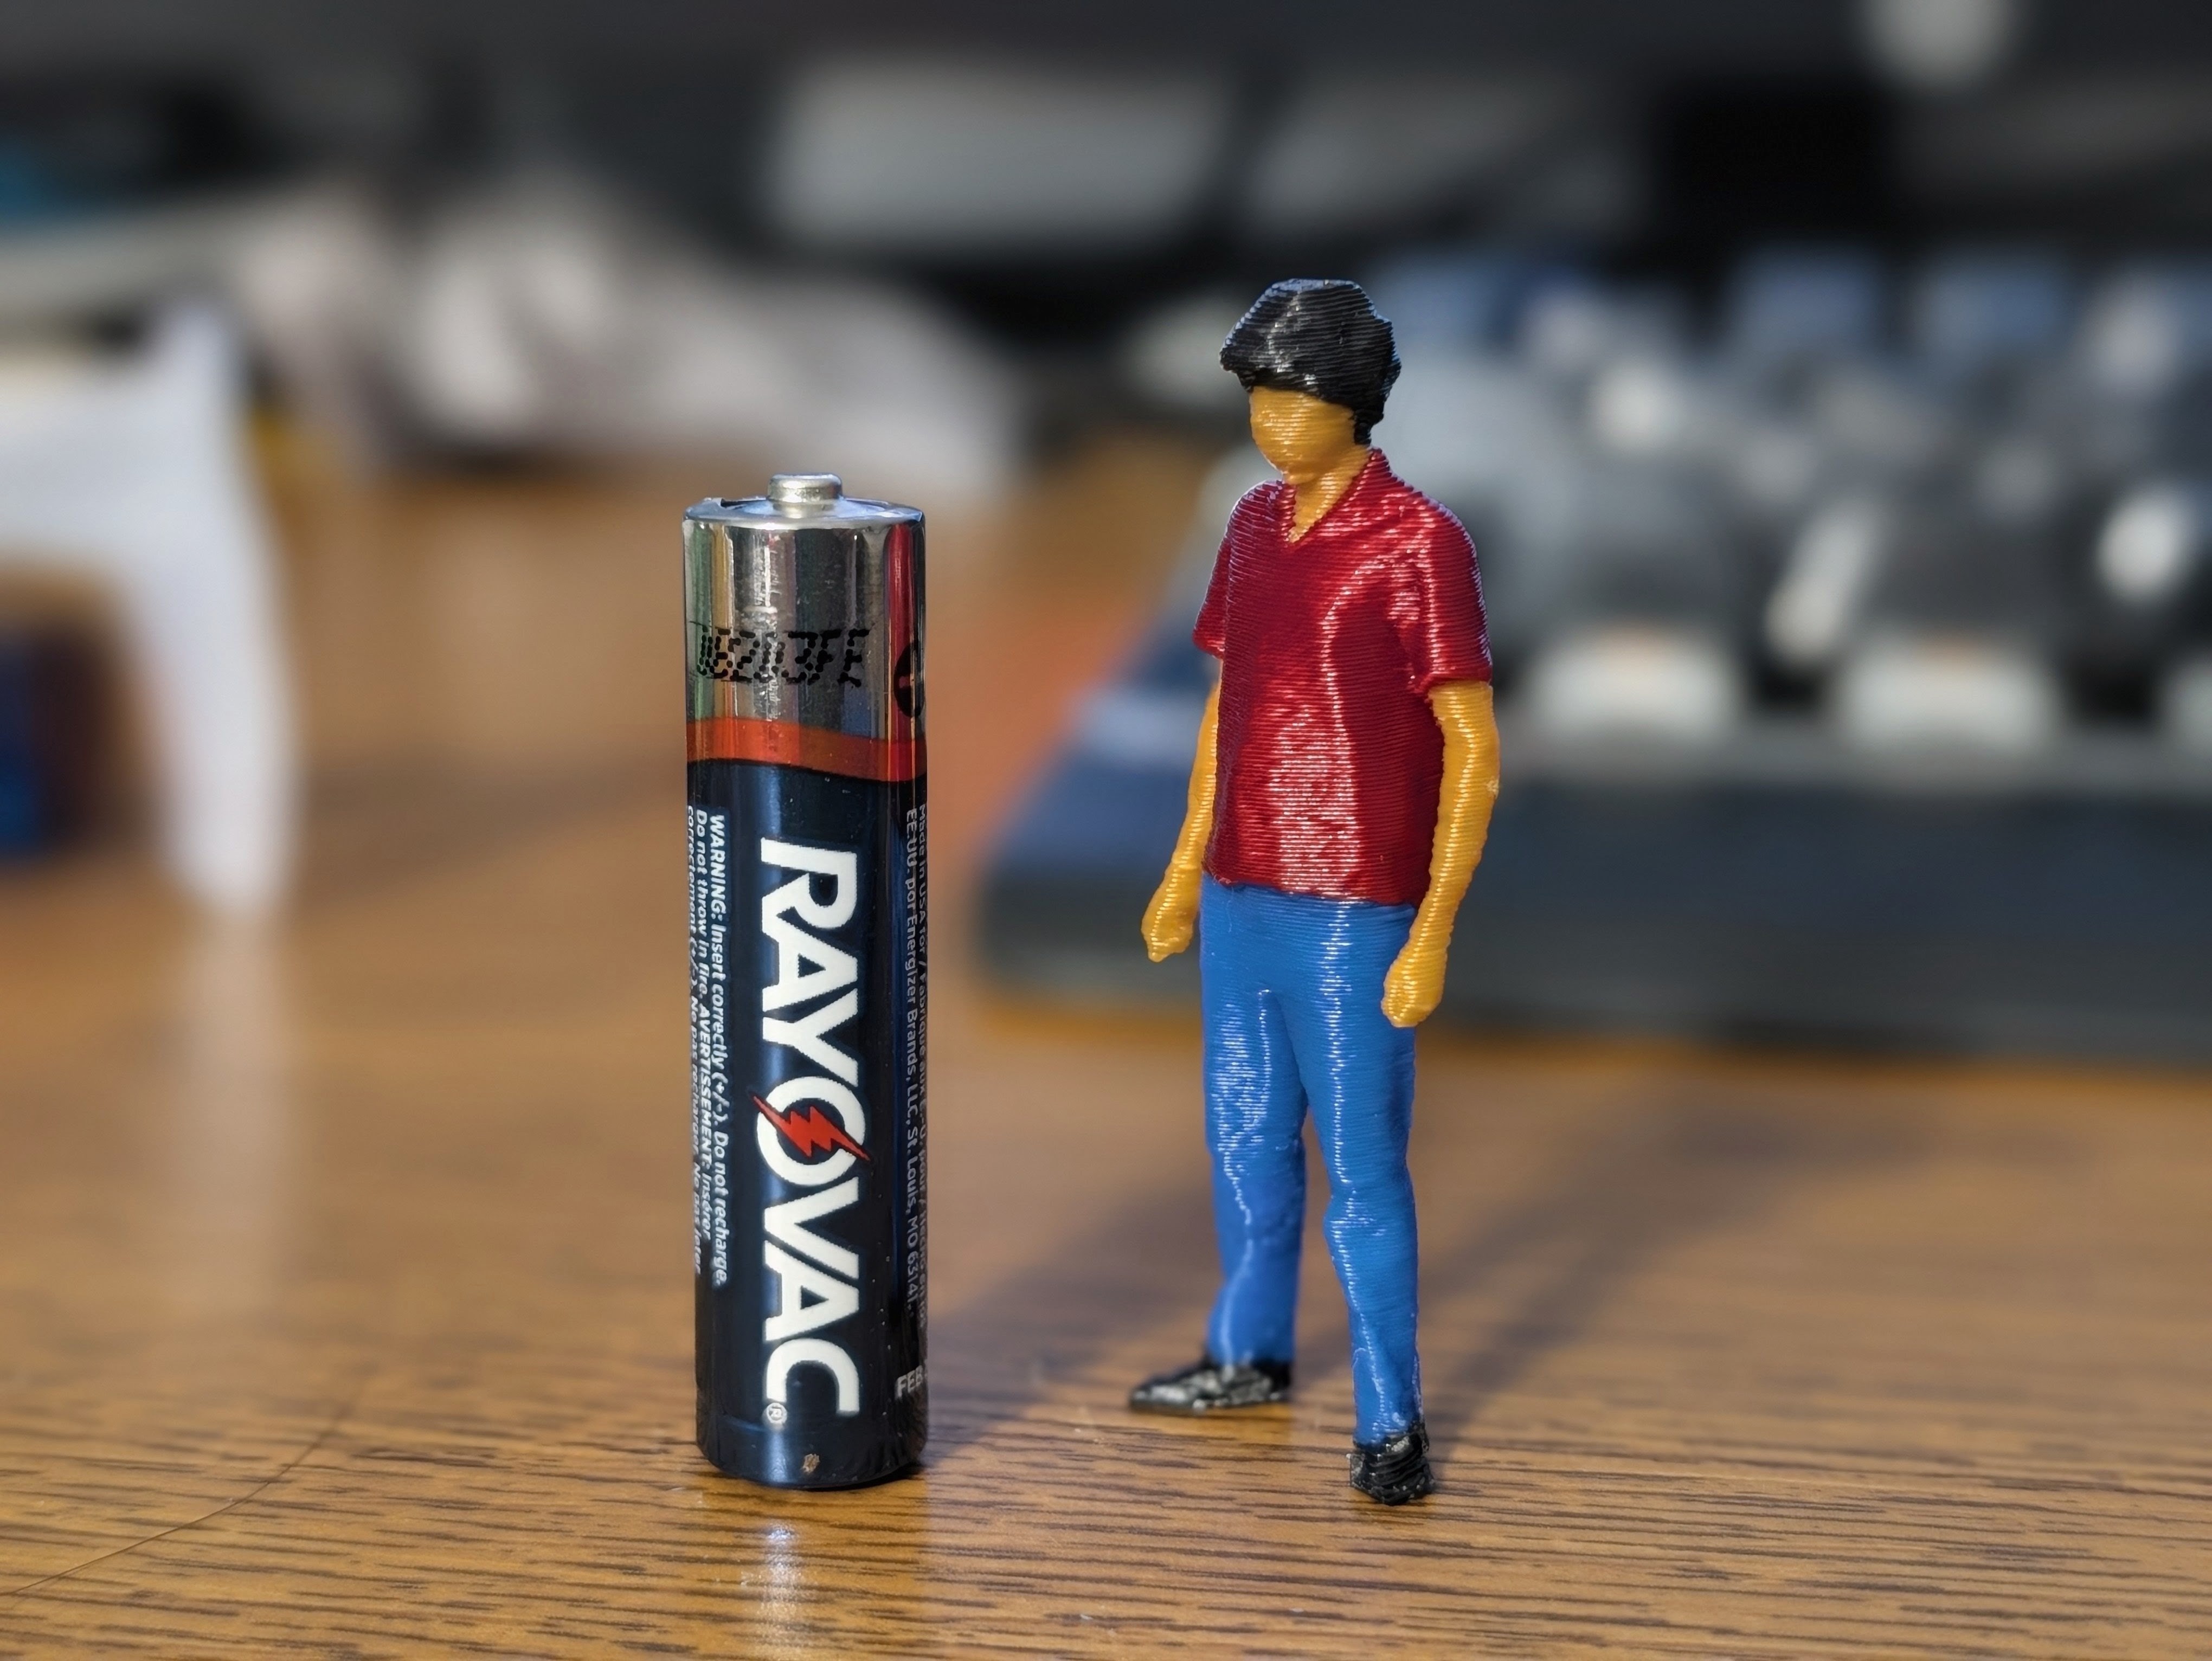
I wanted to test out the free-to-use tool Reality Capture from Epic Games. In the past, when I used 3D scanning on iPhone and Android, I was always met with restrictions and paywalls, so I decided to trade cost for convenience. We took a video of me standing still in the back deck and I imported the video to my computer. It took a lot of trial and error to get the output to be this good. A lot of processing in RealityScan and even more processing in blender. The file has a texture map, and I want to try out the full color resin printing at some point. I am happy with this little figurine though.